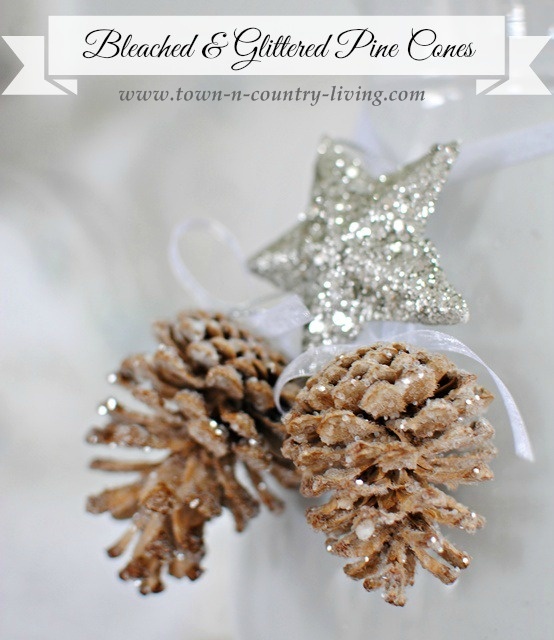
DIY Bleached and Glittered Pine Cone Ornaments
Yes, I’m getting started with Christmas early this year. Every year I wait until after Thanksgiving and then I feel rushed and pressured. Not this year. I vowed to start with a few DIY Christmas decor projects and these bleached and glittered pine cones are a favorite of mine. Pine cones are special at the holidays since they do come from Christmas trees! I put my own little twist on the proverbial pine cone ornament by first giving them a bleach bath before dressing them up with glitter and iridescent ribbon.
 First thing you need to do is gather your pine cones.
Gather them from the ground under a pine tree … or purchase them at a craft store.
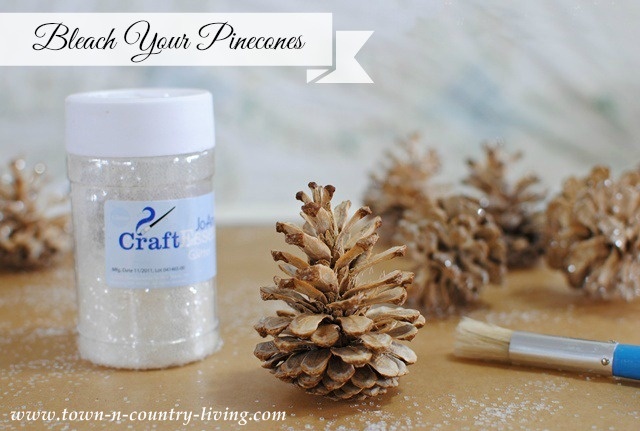 Soak the pine cones in a bleach solution for 24 hours using a ratio of 2 parts bleach and 1 part water. You can do this in mason jars with lids on, or place them in a big bowl with a plate on top to keep the pine cones from floating.
Water will make the pine cones close up, just like the painted pine cones I shared earlier.
After 24 hours, rinse the pine cones … they might still look dark at this point. Place them in an 250 degree oven for about an hour. The heat will cause the pine cones to open back up and lighten in color. They should be a very light brown or tan.
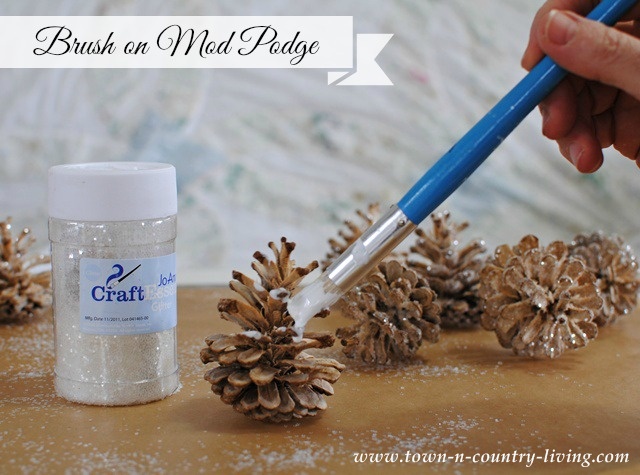 Once the pine cones have cooled off, apply Mod Podge using an artist’s brush.
If you want really glittery pine cone ornaments, make sure you brush Mod Podge on both the top and bottom of the cone scales.
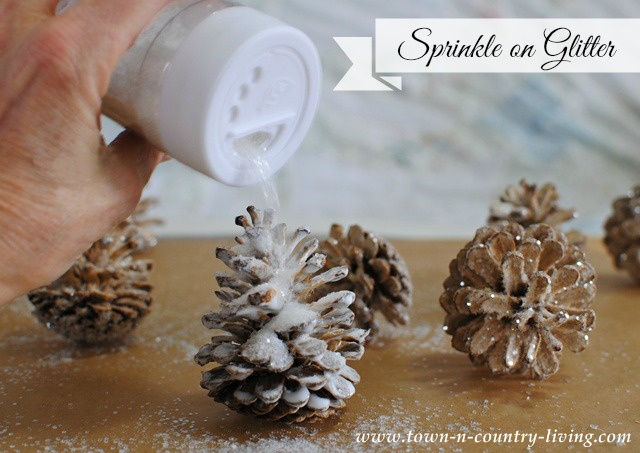 Next comes the fun part! Sprinkle glitter on the pine cone, turning it over to get the undersides of the scales.
Gently shake off excess glitter. Be sure not to shake too hard because you want most of the glitter to stick.
After the glue dries, you can shake them again and reuse any glitter that didn’t adhere to the pine cone.
 Next, tie pretty bows, leaving a big loop to hang your pine cone ornaments.
Use a hot glue gun to attach the bows to the base of the pine cones.
I chose white iridescent ribbon but any color or type of ribbon will do.
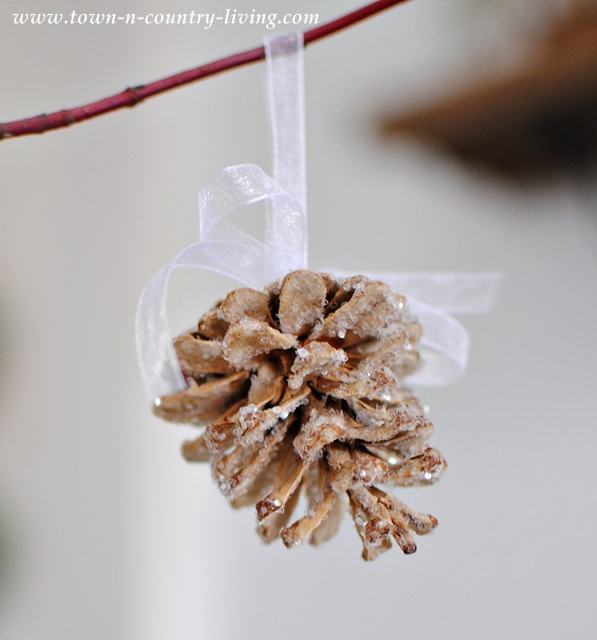 A paler shade of its former self, the rustic pine cone is now glamorous and all blinged out!
I love how the glitter catches the light. So pretty!
 I hung the glittery pine cone ornaments from branches off my dogwood bush.
I love the red of the branches … perfect for the holiday season.
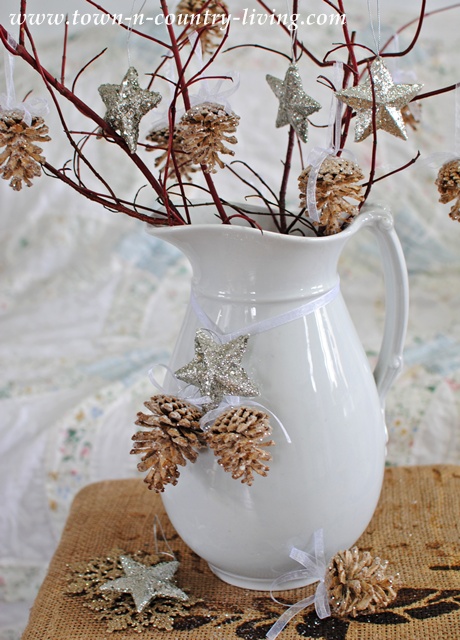
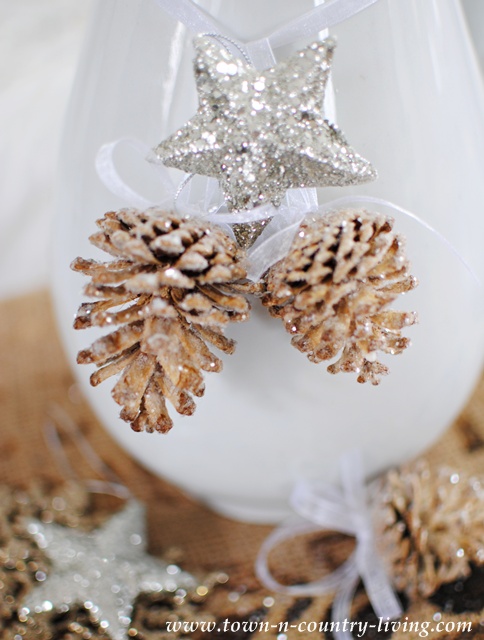 A few glittery stars help to amp up the glam factor.
I have another idea brewing in my head for these pine cone ornaments so stay tuned!
If you’re ready for more Christmas inspiration, enter my giveaway for the new Creatively Christmas book!
And if you’re not ready for Christmas, you can see the Fall Leaf Place Cards I’m sharing today over at Jennifer Rizzo’s blog! You can use them for Thanksgiving or any Fall dinner you might be hosting.
You Might Also Like …

Follow Me on These Social Sites:

Love these glitter pinecones, how pretty. Great tutorial.
oh how I love sparkly stuff!!!!!!! Gorgeous Jennifer!
I just bought some of MMS glass glitter and want to try this-thanks!
And the Holidays begin @ Town n Country Living…..I can’t wait to see more!
JP
I always love using some natural elements in my Christmas décor and these glitter pinecones are so beautiful. The first thing I thought about was using the MMS German glass glitter too. My hubby thinks I am crazy when I start planning my Christmas décor in October but I am the same way… I feel stressed and pressured if I wait until after Thanksgiving.
Jennifer: Hi: Great post! Love, love, love your pinecones…and the little silver stars. Are the stars picks, or ornaments? Can you share where you got them?
Trying to do a white and silver mantel this year and pinecones and stars would be perfect!
Thanks!
{{HUGS}}
Joy Schumann
Hi Jennifer,
Love the pinecones. So pretty. I am with you on starting the Christmas decor early. I usually start the week end of Thanksgiving but am starting earlier this year too. It is so much more relaxing to get it done early and then enjoy it more.
Kris
Great idea Jen! The holidays will be here before you know it. It’s time to get all that holiday décor ready
Love these attention getting glittery pine cones and have to pin to save for when I can do them. Thanks so much.
I’m ready to start pulling the Christmas decor out too and spend more time enjoying it!
They are adorable! I had no idea we could bleach pine cones! Something new to learn each day, thanks Jennifer!
Wow. Love them.
So very pretty!
Jennifer,
Bleaching the pinecones makes the glitter look even better. DIY requires a jumpstart on the holidays. Looking forward to what’s whirring in your mind about your next pinecone project.
Judith
Great inspiration!
I have recently just bleached some pine cones too Jennifer and I love how they turned out. I really liek your tutorial too and I’m so glad you linked it up this week at Shabbilicious Friday. I’m delighted to be sharing this post at tomorrow’s Shabbilicious Friday party.
Hugs ~ Kerryanne
These are just stunning! I must try this for Christmas this year. I’d love it if you would share this at “What We Accomplished Wednesday,” at Green Willow Pond. It is live right now. Have a great week!
Hugs,
Deborah