Fall Floral Chandelier: Make Your Own
Kids are back in school and my thoughts and creativity have turned to fall projects. Today I’m joining four blogging friends to bring you a collection of autumn DIY projects. Thanks to Taryn of Taryn Whiteaker Designs for organizing this crafty event. I’m sharing how to make a fall floral chandelier with beautiful silk flowers. Even if you think you can’t arrange flowers, you’ll be able to tackle this project successfully! (This post contains affiliate links.)
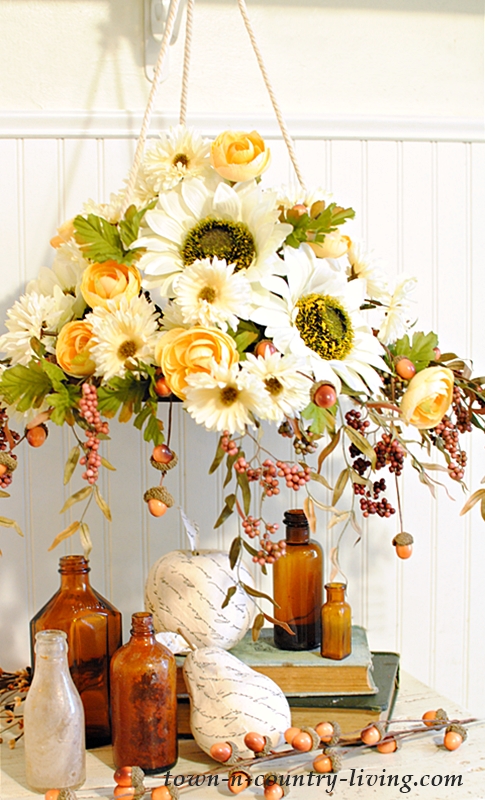
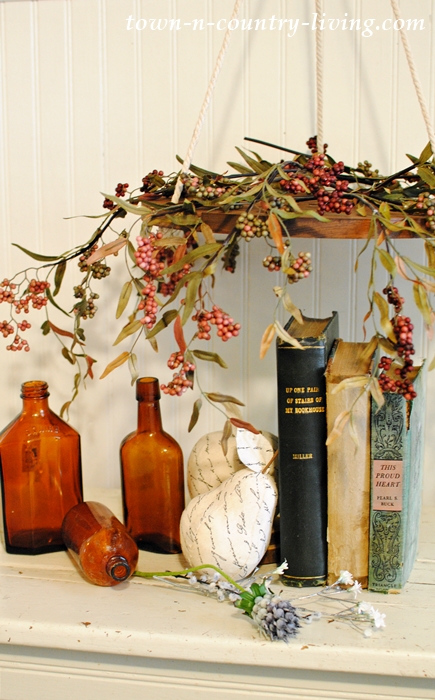
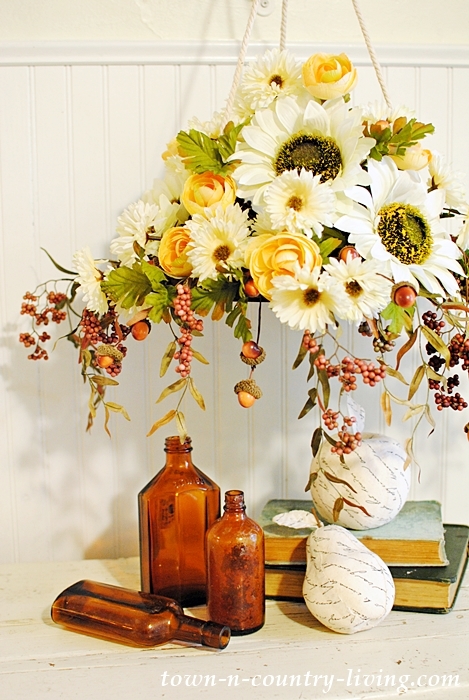
Light and soft fall colors were the inspiration for the floral chandelier. Two years ago I made a spring version of a feminine and flowery chandelier.
Use a round or square piece of wood to create the base for your fall floral chandelier. If you use a round piece of wood, drill three holes near the perimeter, placed equal distances apart. If you use a square or rectangle, drill four holes near the edges. Then, feed a small rope through each hole, and knot the rope on the underneath side of your piece of wood.
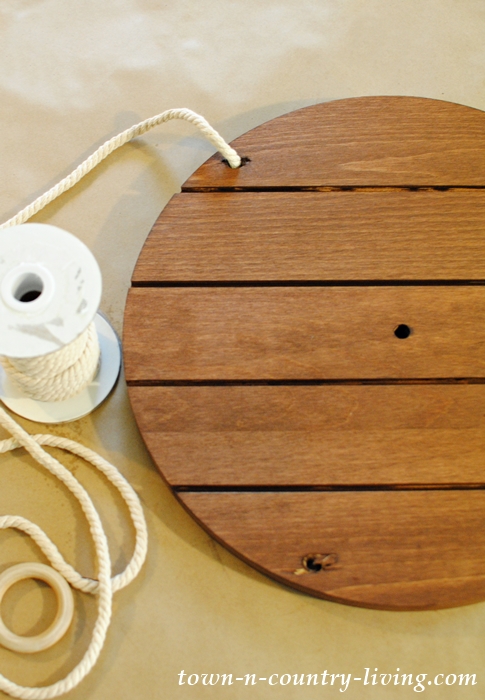
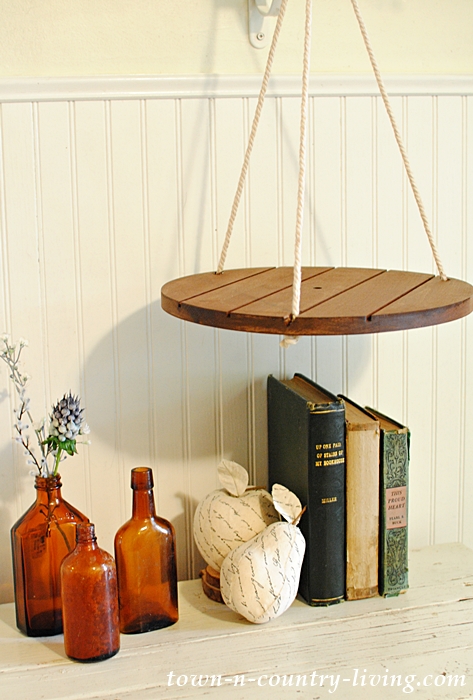
Tie all the ends of the equal pieces of rope together and hang from a hook in the wall or from the ceiling.
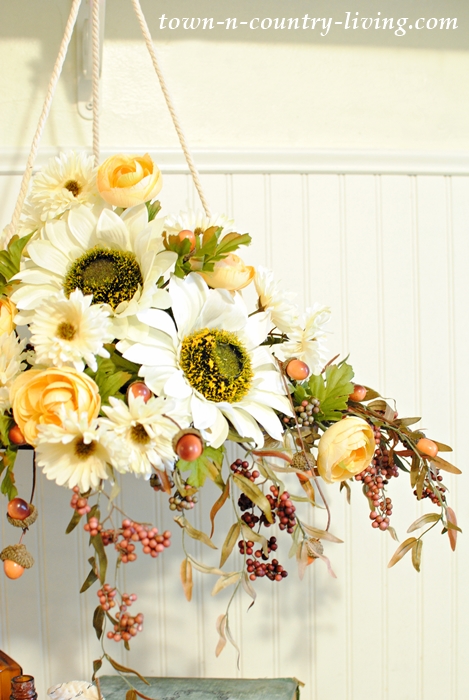
Lay silk flower stems on the wood base. Make sure you’ve chosen flower stems that are soft and will easily drape. Most flower stems are made with wire so their stems can be bent as needed. If the stems are longer than your wood base, cut the bottom of the wire or plastic stems off so they don’t hang over the sides. My cascading stems have olive-type leaves with small clusters of berries.
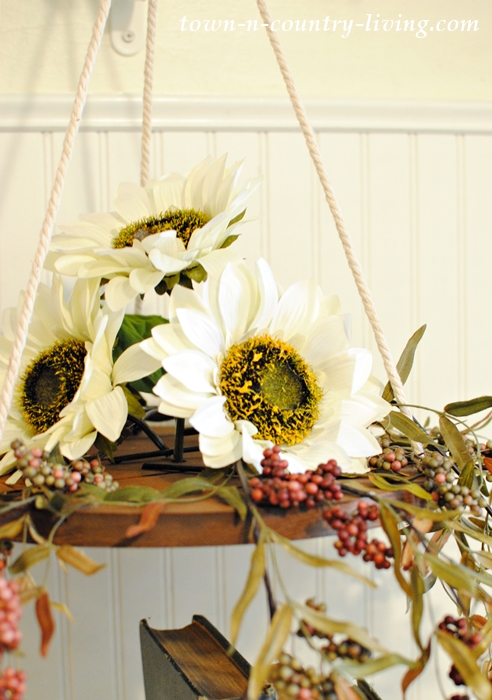
Next, place three to five large silk flowers in the middle of your wood base. You’ll need to cut the stems on these single-flower stems so that only two to three inches of the stem remains. You can see the short stems on my sunflowers. The stems help to prop the flowers up a bit – you don’t want them to lay flat.
Start filling in the holes with your smaller flowers. I bought floral sprays of peach ranunculus and creamy daisy-type flowers. I snipped each flower stem from the spray. This is less expensive than buying numerous individual flower stems. I cut the smaller flower stems so that there was about four to five inches of stem left. The longer stems help keep the flowers in place. You could also place a floral block in the middle of the wood base and stick the stems into it, if needed.
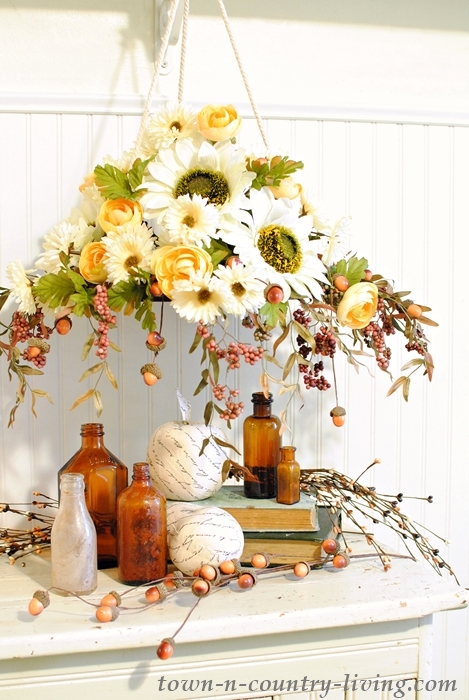
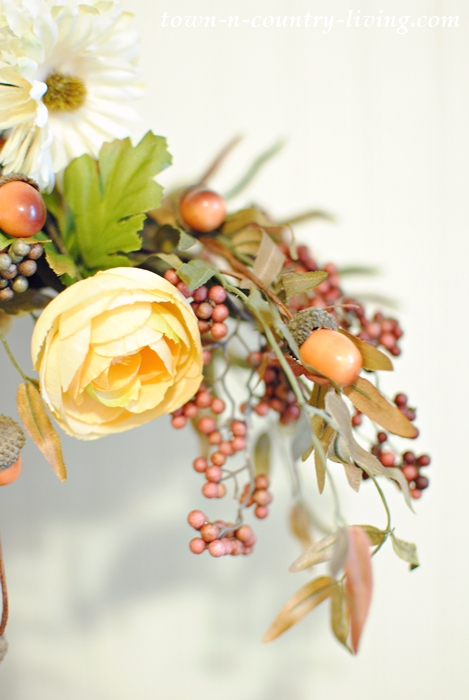
For the final touch, I added longer stems of acorns to drape over the sides of the wood base.
Hang your fall floral chandelier over a dining table or anywhere you might hang a houseplant. When you start decorating for Christmas, simply swap out the flowers and leaves with Christmas-type foliage.
Let me know if you decide to make a flowery chandelier!
And one more thing … I forgot to announce the winner of Kelly’s book, My Soulful Home: A Year in Flowers, on Saturday. Congratulations to Cheryl M on winning such a beautiful book! If anyone wants to purchase it, you’ll find A Year in Flowers on Amazon.
Be sure to visit Fall Craft projects created by my blogging friends below!
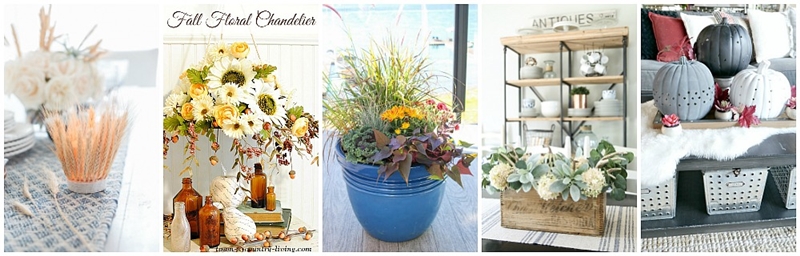
Craftberry Bush | Town & Country Living | The Happy Housie | House By Hoff | Taryn Whiteaker Designs


I’ve done these floral chandeliers in the past in a different way and appreciate the tutorial to try your way. GORGEOUS!
Love this! Unlike Miss Janet, this is a new thing to me. Great tutorial and I may just tackle this project…there is a plant hanger in the ceiling over my desk.
I want to create a floral/greens chandelier for the holidays. Love that you created one for fall. It’s gorgeous.
I love this idea! So pretty for fall!
Very pretty, and such a creative idea Jennifer!!
Wonderful idea, and no i have never seen one before but would like to try if successful will send picture. Thanks
This is beautiful. I have a round plant caddy that would be perfect for this but I have already started using it for another project. 🙂
This is SO pretty, Jennifer! What a creative idea! xo
That is so creative! I love it and want to make one too! 🙂
That first idea is lovely, it looks like Fall and seems easy enough for anyone to do. Thanks for the tip!
This is such an innovative idea. And such a pretty one too. Great way to have flowers when you don’t have a counter space.
That is such a beautiful chandelier it makes me want to give it a try. Imagine having something like that over your head or as you have placed it on the side. Gorgeous!