How to Make Handmade Greeting Cards
Last month I had so much fun creating Valentine’s Day cards so I decided to make general-use handmade greeting cards. This is such an easy and economical project. You can make a bunch at once and then keep them stored in a drawer until you need to send a card. It sure beats paying $4 for a card at the grocery store!

Here’s how to make them …
1. Gather Materials
I suppose this first step is a little obvious, but first you need to round up some supplies. You can find plain cards and envelopes at most crafting stores for just a few dollars.

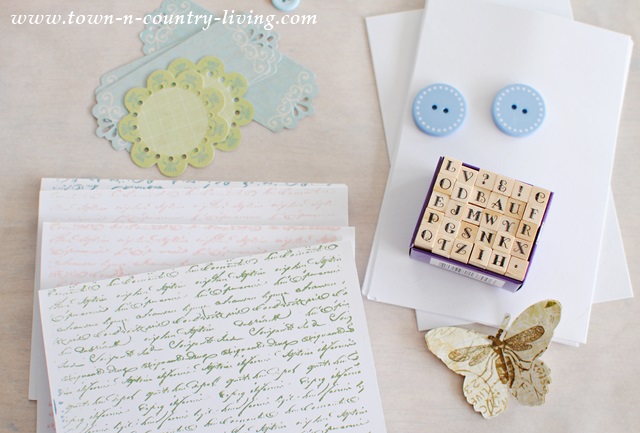
I used white cards and added color by applying a variety of ink colors with a large script stamp.
2. Decorate Your Greeting Cards
This is the fun part where you get to be creative making your handmade greeting cards. You can look online for design inspiration or simply concoct something new and creative all on your own.
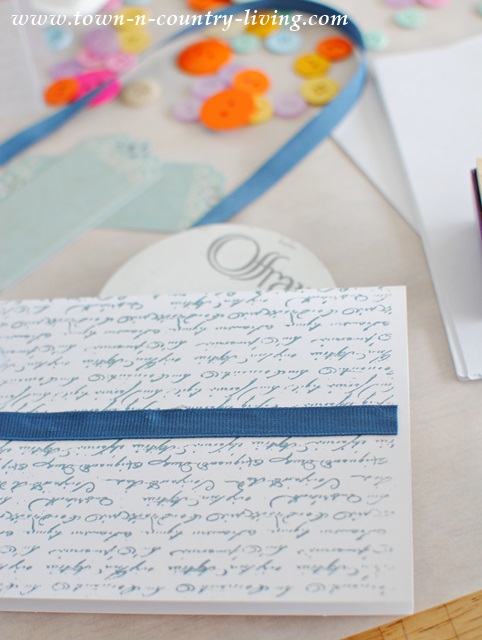
For this card, I cut a length of blue grosgrain ribbon and hot glued it onto my card.

The hot glue gun allows you to work quickly, which I love.


3. Add Text to Front of Cards
You can add text to the front of the cards to make them more specific if you’d like. Calligraphy would be pretty, or you can use stamps to write your greetings.
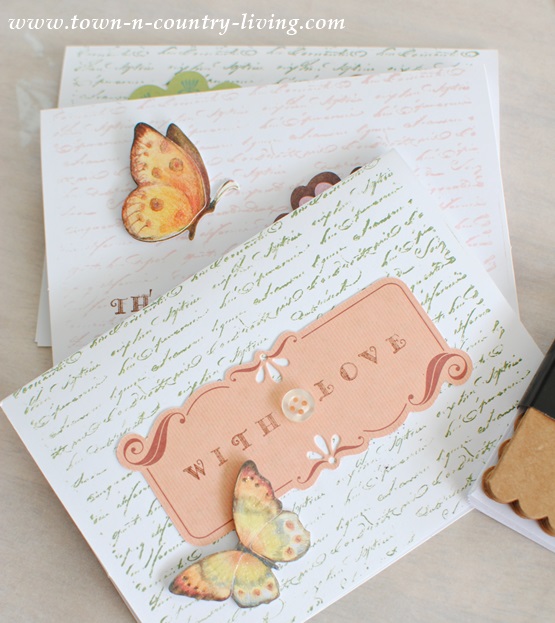
Then I used miniature letter stamps to add “With Love” and placed a button for interest.


4. Store or Display Your Handmade Greeting Cards
It’s best to make several greeting cards at once so you don’t have to keep hauling out your crafting supplies. Simply tuck them in a drawer and use as needed. Or use them to make cute displays around the house.


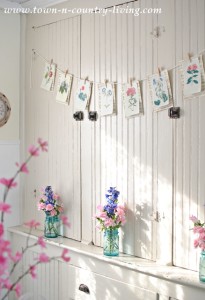
When you take down the bunting, the cards can still be used.

Next on my greeting card to-do list is a very special Mother’s Day card!
Other DIY Projects You Might Like …

Your cards are precious! What a special gift.
Those are all so pretty, and love how you have them used as a banner.
Very cute idea! Have a nice day! Bianca
What graphic did you use to get the script background? It really makes the card. These are so cute and original.
Sweetness, Jennifer!!!! Just total sweetness! These are just adorable! My step-daughter makes these for friends and relatives who want to give something special. She layers them like you do and even uses tweezers to place tiny little cut out pieces! Such patience! lol Thanks for the great tutorial, sweetie!!! How are you doing these days….??? 🙂
xoxo laurie
Super cute x