How to Make a Paper Fan Garland
I don’t know about you but I’m so happy garlands and buntings are back in fashion! Most are easy to make and add whimsical charm to any room. I’ve made a few so far but this is the first one I actually documented so I could share the tutorial. What’s great about this paper fan garland is that you can use a variety of paper so you’ll always be able to make one in just the right color.
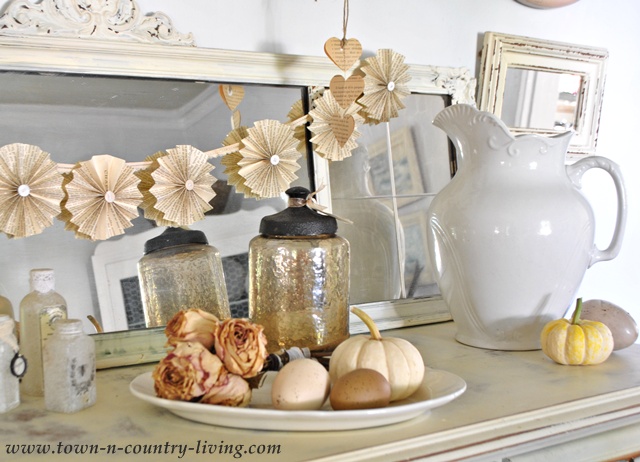
 I strung this book page paper fan garland across the mirror that rests atop my dining buffet.
 I used remaining book pages from the Silver Chalice (I’d used its pages for some decoupage projects) since I knew the pages would blend well with my early fall decor. The paper fan garland was pretty easy to make and didn’t take much time.
Here are the instructions …
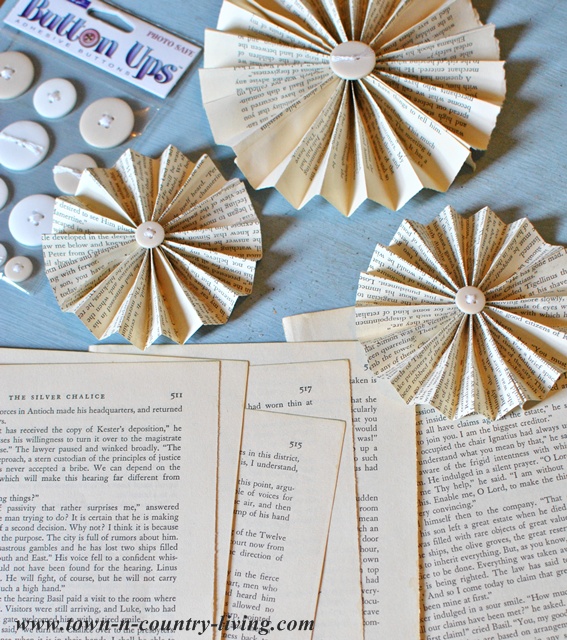 First, gather your supplies. Book pages (or other decorative paper), small buttons for the centers, Mod Podge, scissors, embroidery thread, and a needle is what you’ll need.
 Cut your book pages to size. The wider the page, the larger the paper fan.
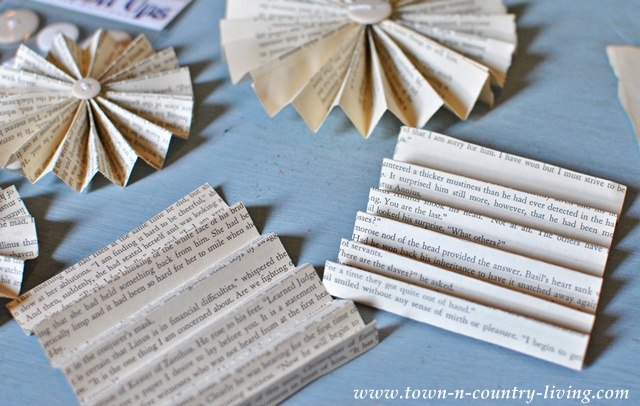 Fold your book pages (or other paper) accordion style, making sure folds are even in size. Cut off any excess if necessary.
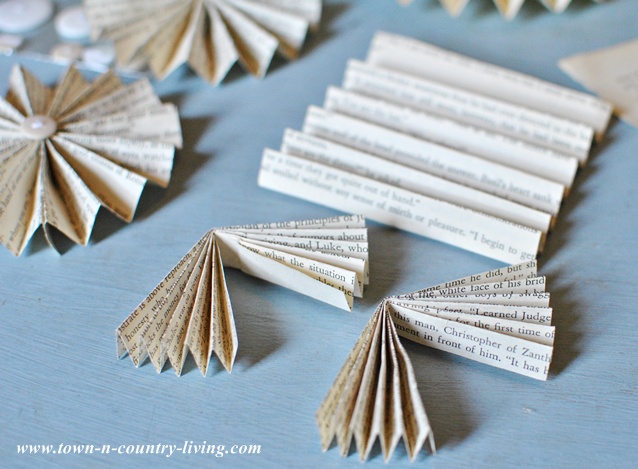 Fold the accordion-style pages in half.
 Using two strands of embroidery thread, tie two pages of folded paper together where you folded them in half. Knot well, and if desired, add a small dab of Mod Podge or other glue on the knot to keep it from becoming undone.
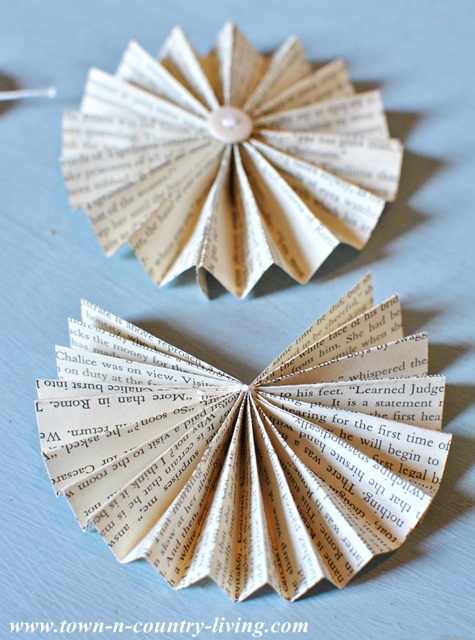 Glue the edges of the folded book pages together, making a complete fan circle once all edges are glued. I used Mod Podge but you could also use a hot glue gun.
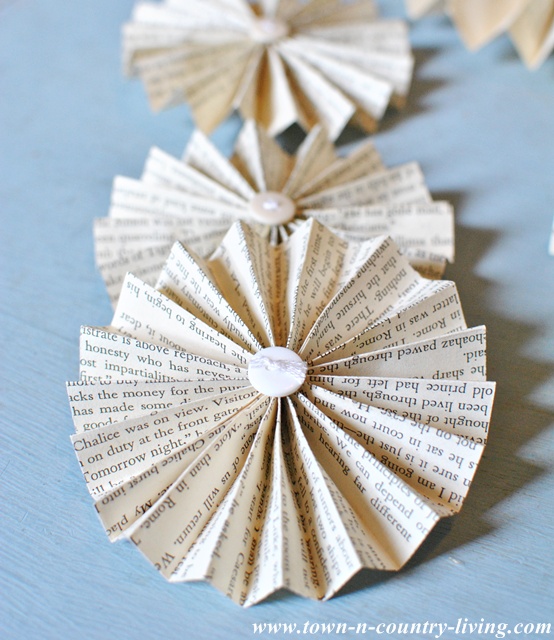 Add a small button or other decorative element to the center of the paper fan. I used Mod Podge to glue the button to the center of the paper fan circle. Press down firmly to secure, but not too hard. You don’t want to smash the folded paper.
 Attach the paper fan circles to a piece of vintage lace, seam binding, or even twine. You can use a hot glue gun to secure the paper fans, or use embroidery thread to carefully sew them in place.
 This paper fan garland was so easy to make and didn’t take much time. I’ll be making more of these for the Christmas holiday with different embellishments. I might even add some glitter, just for fun.
While you’re thinking of decorating your home, be sure to enter the giveaway for 2 spots to the new e-course, Creatively Made Home {Home for the Holidays}.
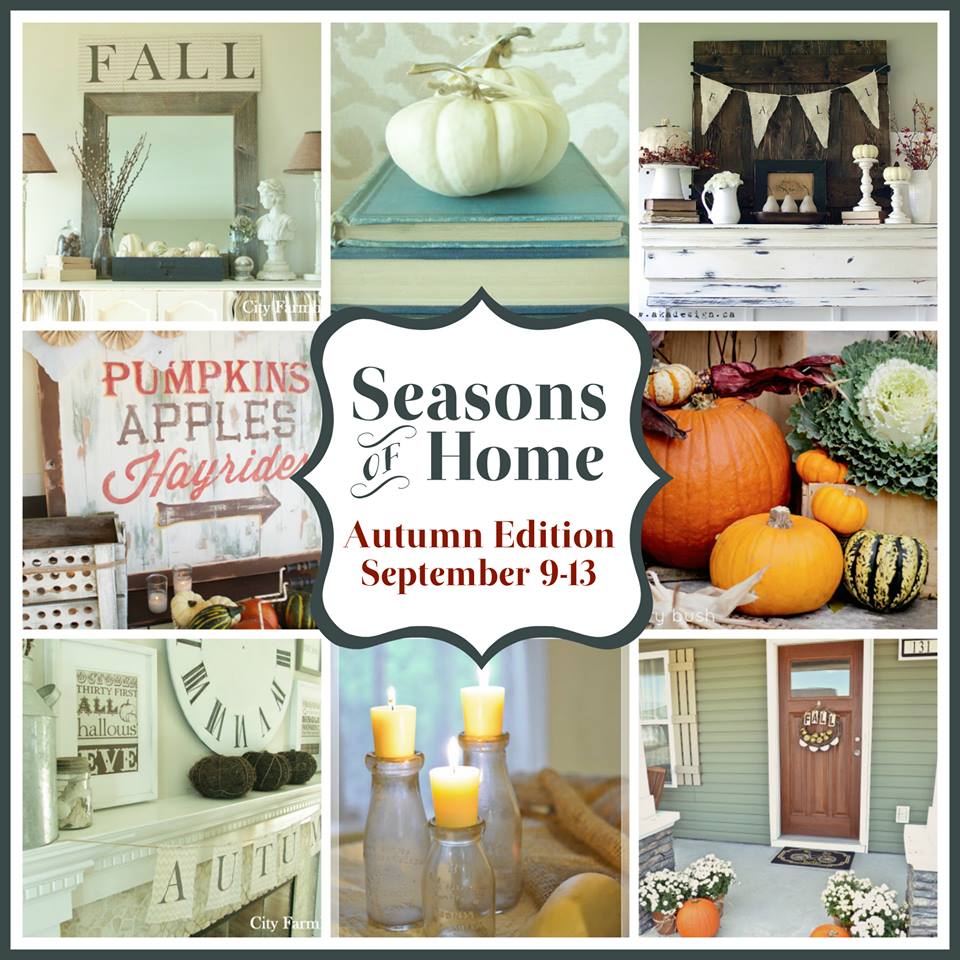 Finally … don’t forget to stop by for the Seasons of Home – Autumn Edition tour next week. I’m joining 6 other bloggers from September 9-13th to share lots of fall decorating inspiration. Here’s the schedule …
Monday – AKA Design
Tuesday – Town and Country Living
Wednesday – Craftberry Bush
Thursday – Ella Claire Inspired and Liz Marie Blog
Friday – City Farmhouse and Finding Silver Pennies
Sharing this post at Metamorphosis Monday, Wow Us Wednesday, Sunday Showcase

Your instructions are so clear that I believe it will be easy for me to make a garland. Wheels are turning in my mind about supplies…. Of course, I love all things French, so I’m thinking French language book.
Judith
thanks for sharing the “how-to” on making these. I love a book page “anything”!!
Love the garland, thanks so much for sharing it…Your amazing pictures could make a lover out of this in a heartbeat!
This is adorable! Thanks so much for sharing another AMAZING project Jennifer! ~Tammy
You make it look so easy. I have spent the last week in “Fall Cleaning” mode – still not finished. I think this little garland is just the ticket for a creative day.
I really LOVE this garland! Your instructions are very easy to follow. I think I will give it a try…..if I can bear to use the pages of the old book I bought for crafts a while back. I buy old books then can’t stand to tear out the pages….must to ocd thing! And I have that same mirror in its original gold.
Thanks so much for the tutorial! I love these paper fans.
xo
Claudia
I am glad banners and buntings are back too…I love them and the warmth they add to a room. These are pretty dang cute and easy to make. The book pages are perfect!
Beautiful Jennifer!
xx
Anne
These are a brilliant idea! I can’t wait to try it out and have just the spot for it too! Thanks for the idea, love your blog. I found you via BTNOP Met Monday!
Michelle / newengland-style.com
Beautiful garland! Now if I only had time to make one. Dropping by from Met Monday.
Allison
Atticmag
Beautiful! Going to make these today!
This garland is great, Jennifer! Your instructions are very straight forward and informative, too. These little fans have great possibilities for any number of great projects. Thanks for sharing your talents with us, once again!
This is so adorable! I love the vintage look!
Love this!! I love old book page crafts! Come link up to centerpiece Wednesday and share this post with us http://thestylesisters.blogspot.com/2013/09/welcome-to-centerpiece-wednesday-92.html
Karin
Jennifer, here is the paper fan garland that I made. Thanks for sharing this! http://christmanscreations.com/2014/11/18/christmas-paper-fan-garland/
Hi Cyndee! So glad you gave it a try! Thanks for letting me know … your creation looks beautiful!
please describe how to make fan burning garland
Lovely, thank you so much for sharing 🙂