How to Make a Pom Pom Garland
I’ve wanted to make a pom pom garland for quite a while now and you’ve probably seen a tutorial or two for these. I’ve read a few myself but ended up tweaking the tutorials after practicing to make it just a wee bit easier to do … ’cause I’m all about easy. After I took my mercury ornament garland down from my ceiling tin, I realized a pom pom garland would be a perfect replacement for the winter months ahead. So are you read to learn how to make a pom pom garland?
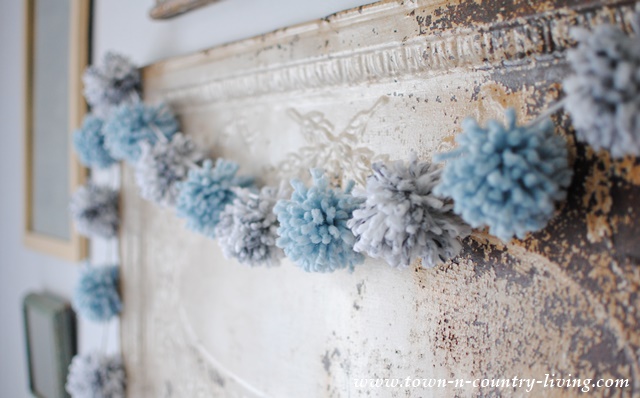
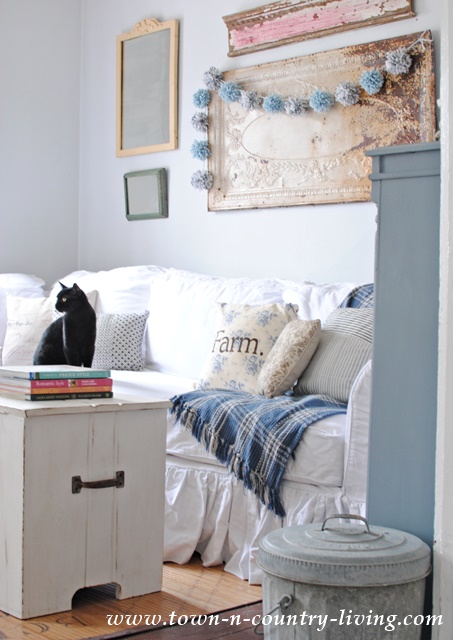
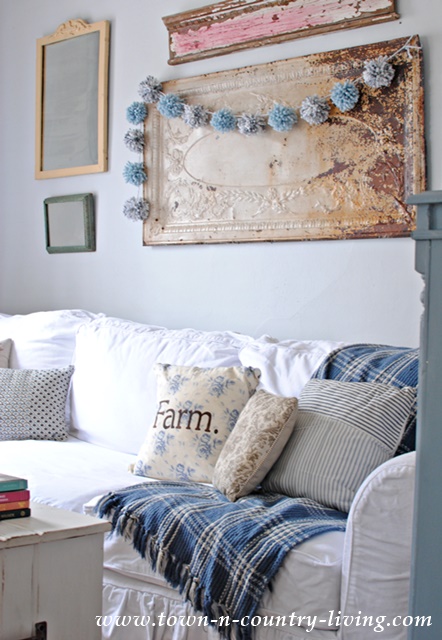 My new pom pom garland graces the vintage ceiling tin in my family room. During the Christmas season my mercury glass garland was draped here. I hated to take it down and when I did, I realized I needed something new to hang here and add a little color.
 I decided to use 2 colors of yarn to add a little more interest. Okay, to be perfectly honest, I couldn’t decide which color I wanted so hubby suggested I use both. Every once in a while he has a genius idea.
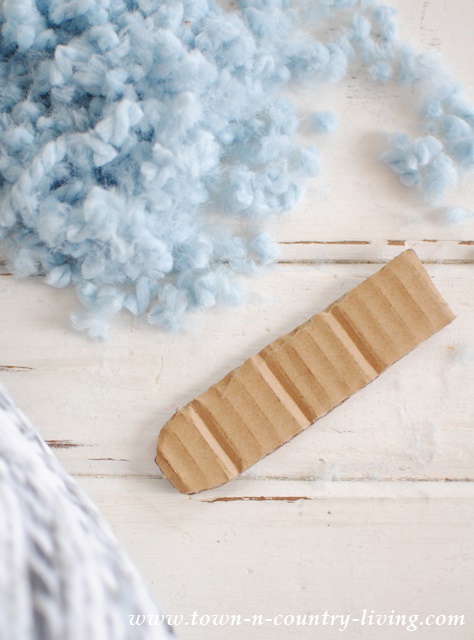 Most of the pom pom tutorials I read called for wrapping the yarn around a fork. However, I found the yarn slipped too much on the fork and I was getting frustrated trying to keep it in place. That’s when I decided to cut a piece of cardboard from a box. How wide you cut it will determine the size of your pom poms. I cut my cardboard guide about one-and-a-half inches wide.
The grooves in the cardboard helped keep the yarn from slipping. I rounded the corners of one end to make it easier to slip the yarn off after wrapping. You’ll see what I mean …
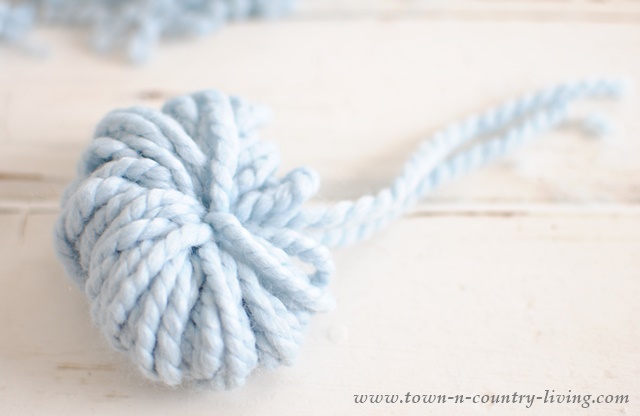
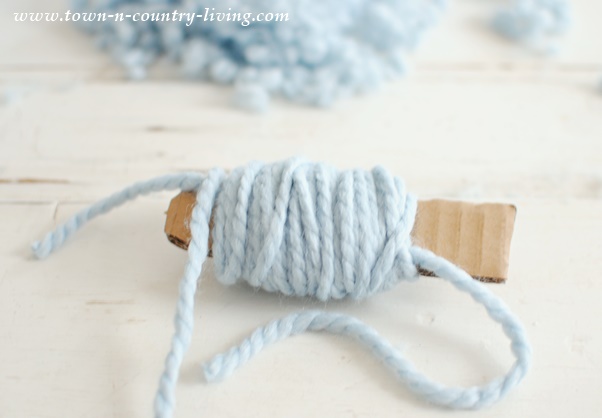 Another change I made to most tutorials … before wrapping the yarn around the cardboard, I cut a stretch of yarn about 6-8″ long and placed it on top of the cardboard guide. I then started winding the yarn around the cardboard and that piece of yarn, which is used to tie all the pieces of yarn together. For a full pom pom, I wrapped the yarn around the cardboard about 75 times. A full pom pom looks better than a sparse one so don’t get skimpy on the winding-around part or you’ll be disappointed.
 Holding the two ends of that 6″ strand of yarn while holding the wrapped yarn, slide the cardboard guide out of the wound yarn. It’s easier than it sounds. The wrapped yarn slips off easier when those ends of the cardboard are rounded.
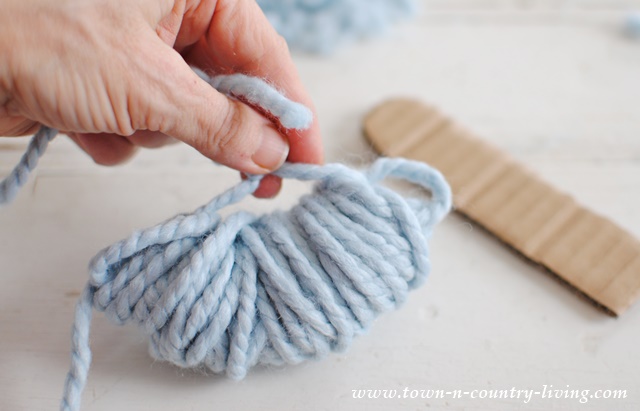
 Using the two long ends of that yarn strand, tie it tightly so that your wound yarn forms a little ball. The tighter you tie it the better because it makes the pom pom a little bit fluffier.
 Next, insert the lower blade of your scissors into the loops and cut the yarn. Don’t be too concerned if you’re not cutting the loops perfectly even. You’re going to do a little trimming of the pom pom anyway. Fluff your pom pom by slightly separating any areas where the yarn is bunched too tightly together.
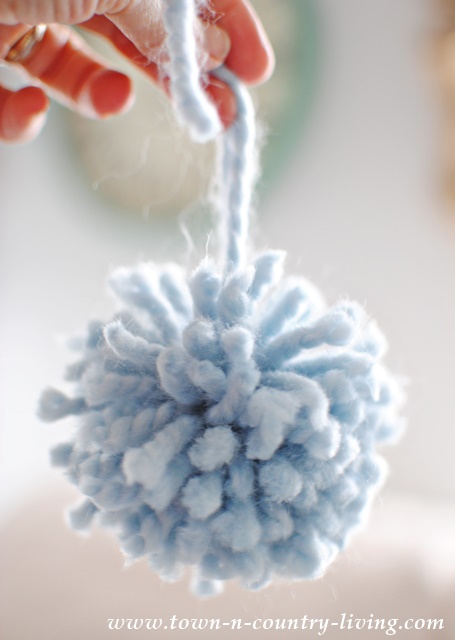 Hold your pom pom up with one hand, and with the other hand, give it a haircut if needed. Chances are there will be a few strands that are too long … or the pom pom itself might be a little lopsided (mine were). Trimming the edges will give you the circular shape you desire. Now it’s soft and pretty!
 All that’s left to do is tie the pom poms onto a long length of yarn. Use the 2 long ends of the pom poms to secure them onto the stretch of yarn, and then trim them off. You’ll be able to slide your poms a little on the yarn, which is nice if you didn’t space them evenly.
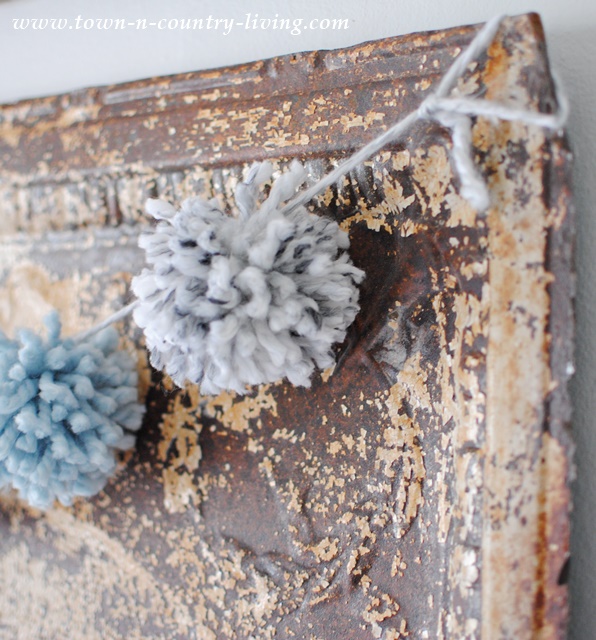 I also tied a little loop at the ends of the garland to make it easier for hanging.
 My new pom pom garland makes me forget about my mercury ornament garland (well, maybe I still remember it a little). I used fairly thick yarn and love the way it looks draped across my rusty ceiling tin.
 My kitty Felix has given it his seal of approval and is scheming how to get hold of it so he can play with the yarn. I hope you enjoyed learning how to make a pom pom garland. Let me know if you decide to make one for yourself. Make them big or small!
I love pom pom garlands. Yours looks perfect draped across that ceiling tin!
How many pompoms did you get out of 1 skein of yarn? I’d like to know how many to buy when I try this. Thanks
Absolutely darling! I love the pom pom garland! I’m definitely giving this a try. Thanks for sharing. 🙂
I love the way your pom pom garland looks! You have motivated me to try to make my own with your easy to follow directions 🙂
Hi Jennifer,
I am in love with your pompom garland. I tried making one before Christmas to hang on my tree but the pompous came out weird. (not to mention I stabbed myself with the fork) I tried using your instructions and behold, the pompous are perfect and much easier to make !!!!!!!! I’ll be using my newly created garland elsewhere in my home now that the tree is down.
Thank you, thank you, thank you, you are the best !!!!!!!!
Vanessa
What a cutie! Love both colors-hubby is a genius! Thanks for the tutorial I think I will be trying it!
How cute is that, and it looks so easy to make. Thanks for the tute:)
I love this idea !!! I made one, using your directions in pale pink and fluffy white !!! It looks so sweet in my guest/sewing room !!! I plan on making more !! Love your blog ! Thanks so much !!!!