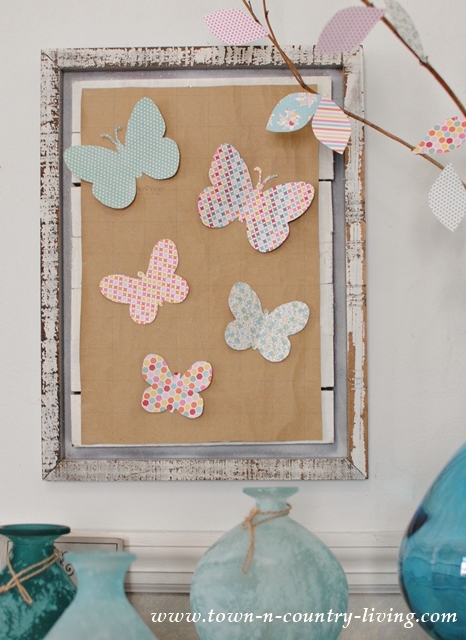
Paper Butterfly Wall Art
Decorating your home for the seasons can get real expensive, real fast. I’m always looking for creative ways to re-use items I already have on hand. If I think about it too much though, the ideas escape me. It’s when I have an unexpected thought that I walk away with something I like. Such was the case with Christmas decor that I turned into paper butterfly wall art just in time for spring.
 This project is so easy … even the highly craft-challenged individual can do this.
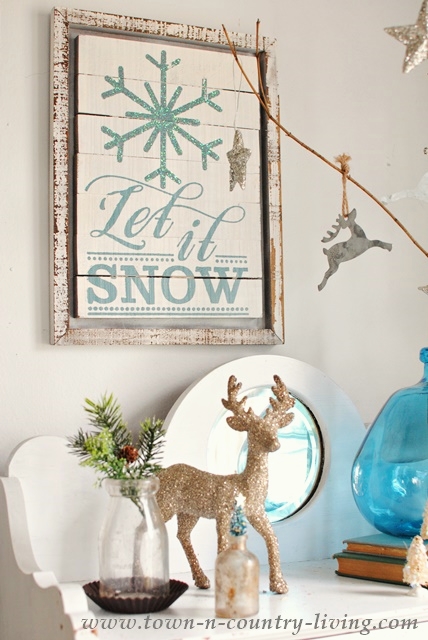 You might remember my Let It Snow sign (which I found for half price) from my Christmas Home Tour. I decided to leave it up during the winter since it’s more about snow and less about Christmas. I like its rustic frame but spring is coming so it needs to go. Or does it?
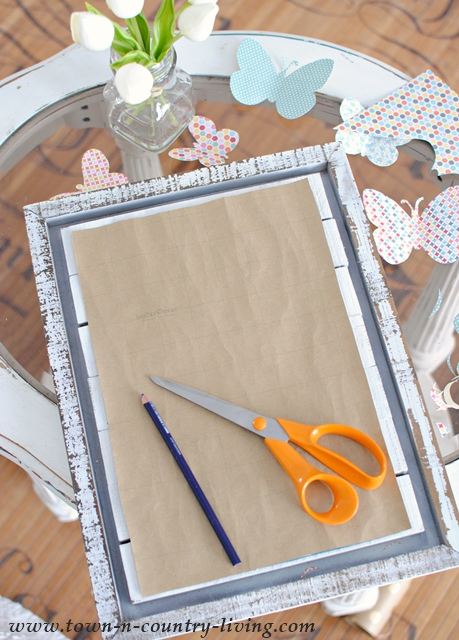 I took the sign off the wall and measured a piece of brown Kraft paper to cover up its snowy message. I left as much of the white planks exposed as I possibly could. I used quality tape to attach the paper to the sign. Then it was just a matter of cutting butterflies from decorative card stock. You could also use patterned scrapbook paper.
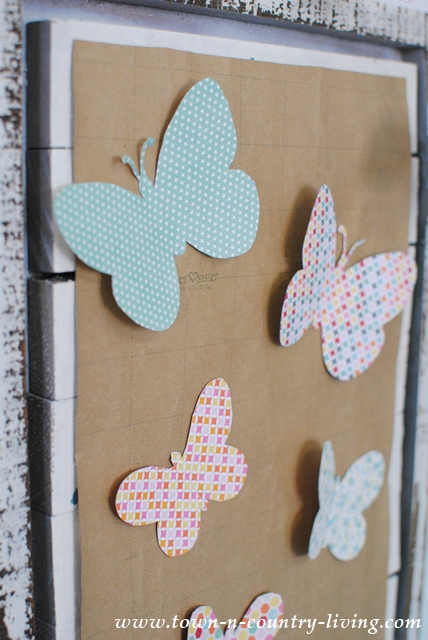
 I rearranged the butterflies before gluing them to the Kraft paper.
You can find a template for the butterflies in my Butterfly Garland post
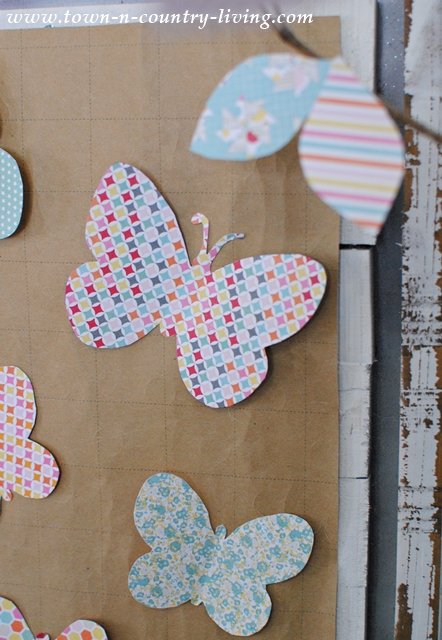
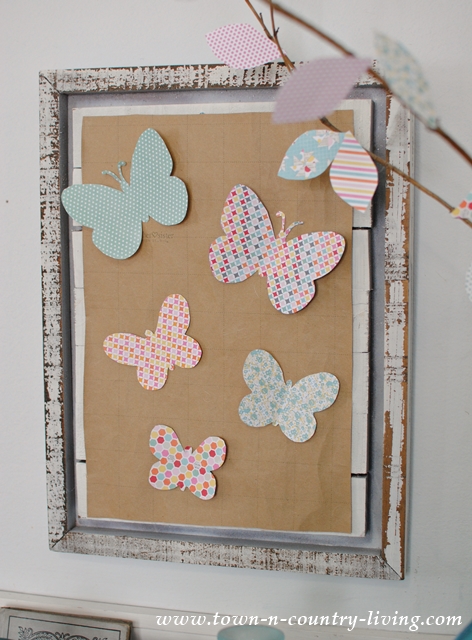 Once I had the butterflies in a pleasing pattern, I simply hot-glued them to the brown Kraft paper.
 And that’s pretty much it! Super easy … and quick too.
You can download the butterfly template for free.
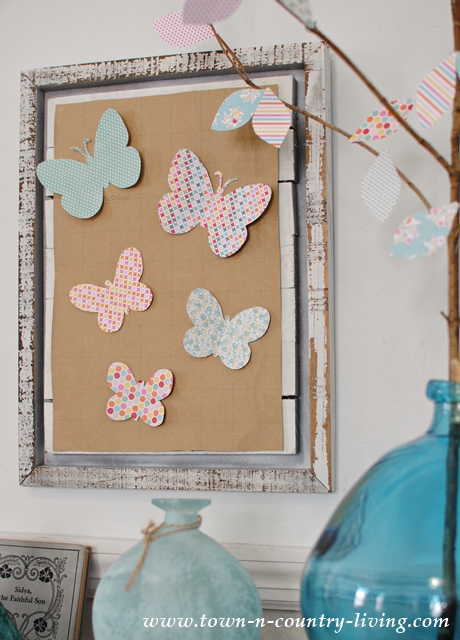 In a few months, maybe I’ll swap the butterflies out for something else. I’m just glad I didn’t have to buy something new to replace my “Let It Snow” sign. Now I’ve got Paper Butterfly Wall Art instead!
What a brilliant idea, Jennifer, the idea of making the temporary changes. I can see how it will work for all the different seasons, jst by changing out the paper and putting whatever is “in season” on it. Love it, smart lady!