How I Stenciled Napkins for a Pretty, Custom Look
Lately I’ve been wanting to do something with dish towels, napkins, pot holders, etc. I’m not sure why … I just thought it would be a quick and easy way to add some prettiness to the kitchen and dining room. So I broke down and took a trip to Hobby Lobby for some inspiration and now I have a tutorial on how I stenciled napkins. A wide variety of stencils are out there for the choosing, so there’s really no limit on what you can do for your next gathering of family or friends.

Both are very simple. Like I said, not a lot of work for a pretty, custom look.
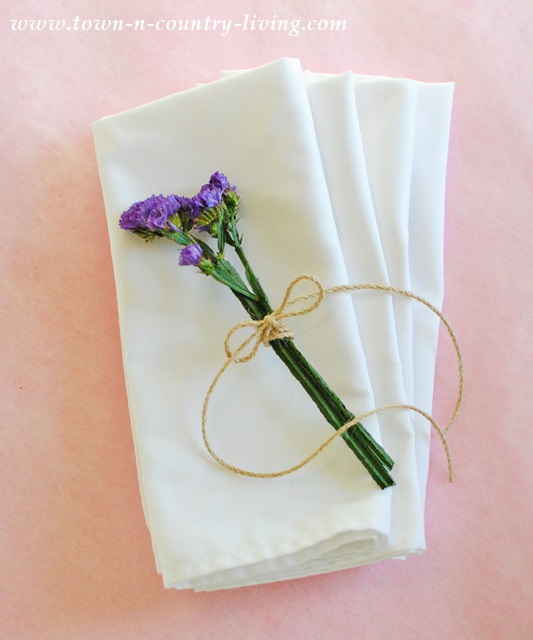
Before you start stenciling, wash the napkins.
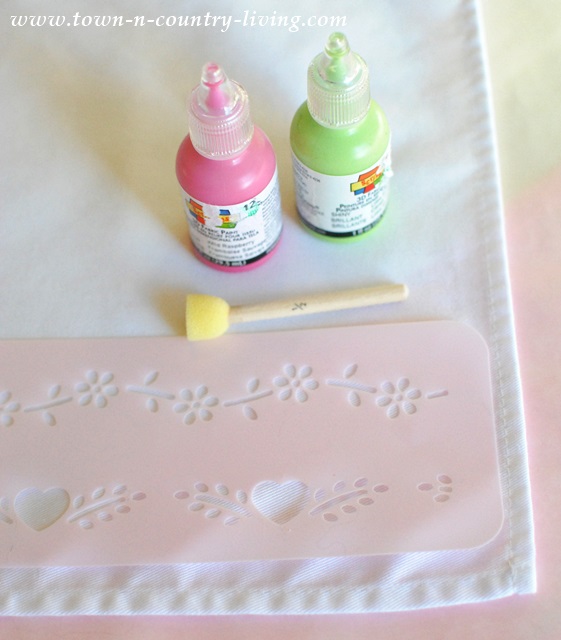
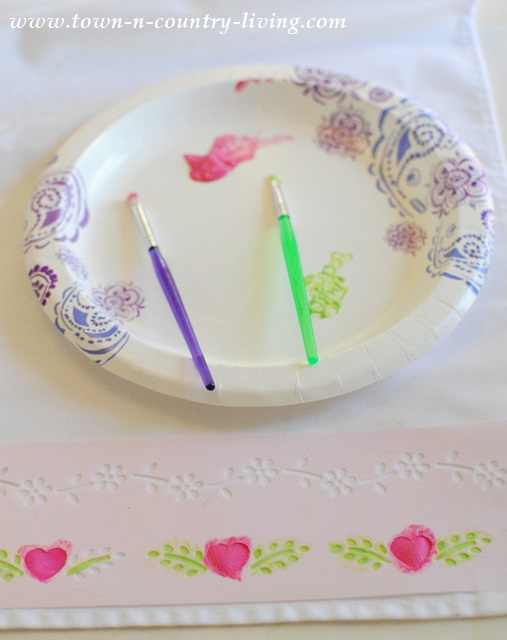
Tape the stencil in place close to the edge of your napkin. The tape keeps the stencil from slipping.

I folded this one so both edges of the border would show, creating a pocket for the silverware.
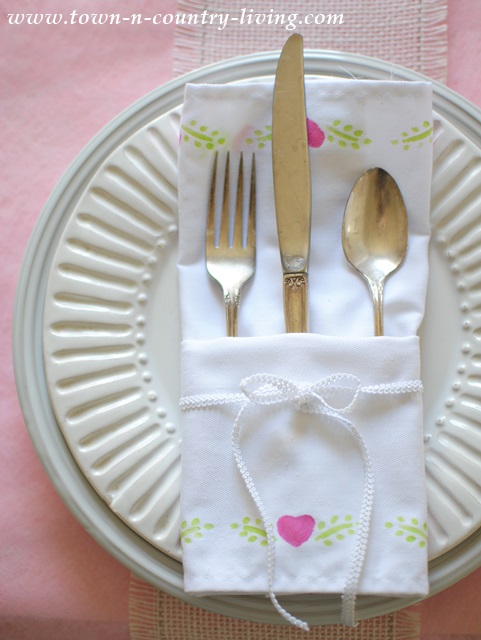
Stenciling napkins lets me create the pattern I want in the color scheme I need.

And now for the second pattern …

I love to use yellow with blue and happened to have sunny mums on hand.

Maybe because I need warmth and sunshine during the rainy month of April.

So for little money and time, I got sweet little stenciled napkins for my dinner table.
You Might Also Like …


Ha! I love this! Thank you so much for sharing!
Have a nice evening!
FABBY
They’re both so sweet, I really can’t choose ~ very pretty especially with the delicate little ribbons!
These are so very sweet looking!
Blessings,
Linda
These are so pretty. They look vintage. Great idea!
So pretty, thanks for the tutorial!
So very cute! I love your napkins!
So pretty and perfect for Spring – I bought some napkins to do this with ( Paris themes of course lol )
XOXO
I think these are both lovely and just say SPRING!!!
Cynthia
Very cute! I have that very same stencil and used it on my daughters jeans when she was little. The napkins look great!
They’re both very pretty and such a smart idea! I love the blue ones… I’m loving blue and green at the moment.
Thanks for sharing babes. Amazing as always xx