10-Minute Floral Centerpiece
Every morning this time of year I dread waking up in the dark. I like summertime and waking up with the sun’s warm rays touching my face. But since I can’t have that right now, I’m cheering up my interior spaces with pretty flowers. Today I’m sharing how to make a 10-minute floral centerpiece. It’s nice to have quick and easy projects that put a smile on your face. (This post contains affiliate links.)
Pink and white were the colors of choice, partly because Valentine’s Day is coming soon, and partly because I love the colors of pink and white.
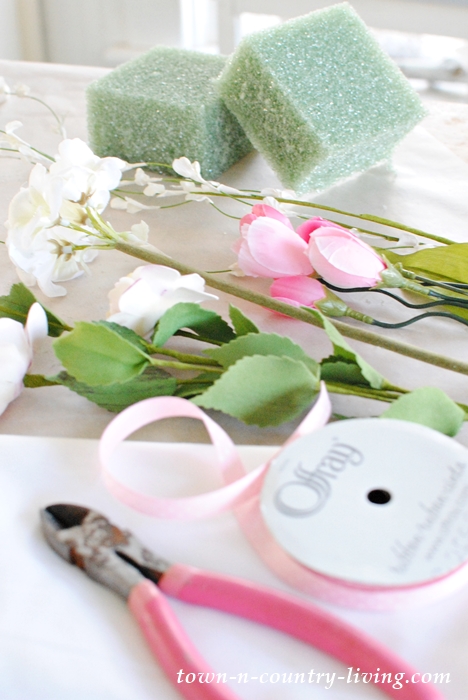
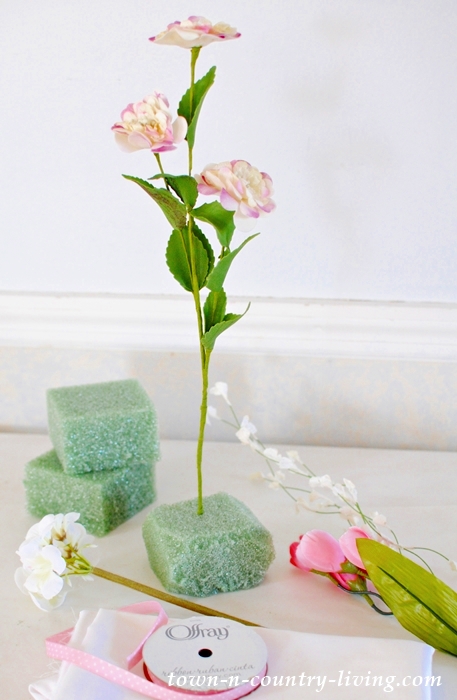
Visit your local craft store and choose a few floral stems in a variety of heights. You’ll need floral Styrofoam for the base of the centerpiece, a bit of muslin or other cotton fabric to wrap the foam, and a pretty pink ribbon.
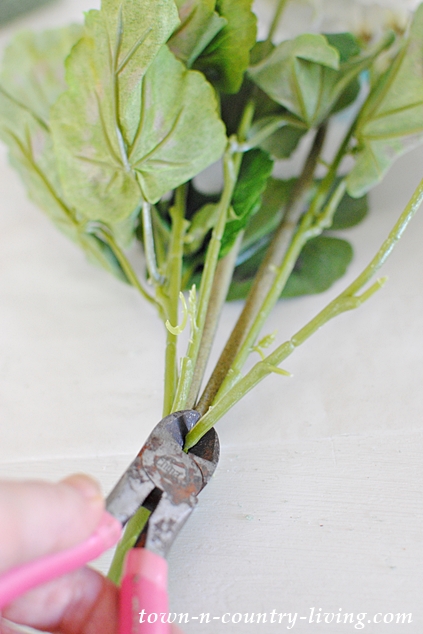
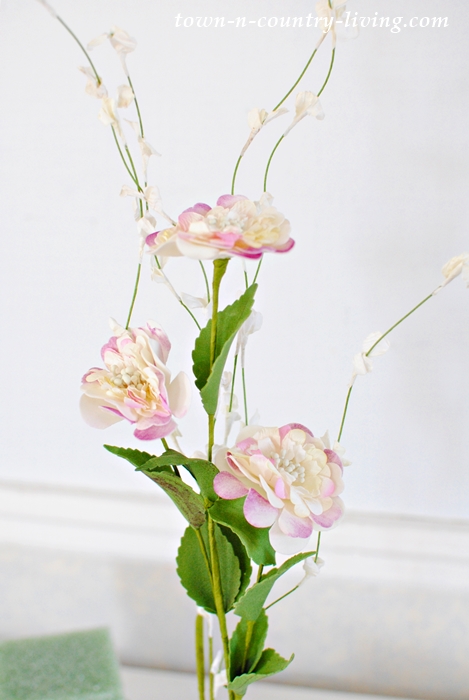
If you purchase sprays of silk flowers, you’ll need wire cutters to remove individual stems for your floral centerpiece.
Take one stem and stick it into your floral cube. You’ll notice that I cut off the corners of my cubes to make the base look a little more rounded once wrapped in the fabric.
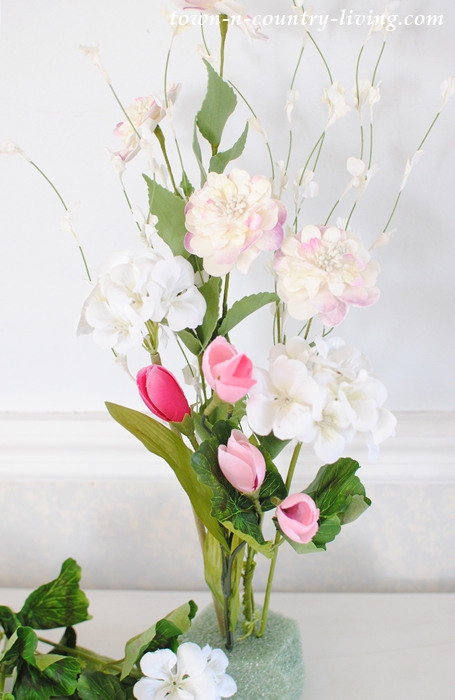
Add your taller stems at the back of the display.
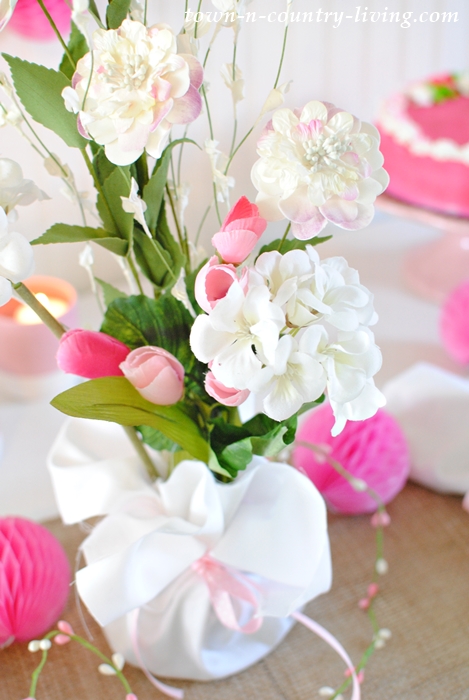
Place the shorter stems in front, and the fuller flowers toward the middle. Try not to overthink your floral centerpiece. When you see a field of flowers, they aren’t placed perfectly, yet the field is beautiful.
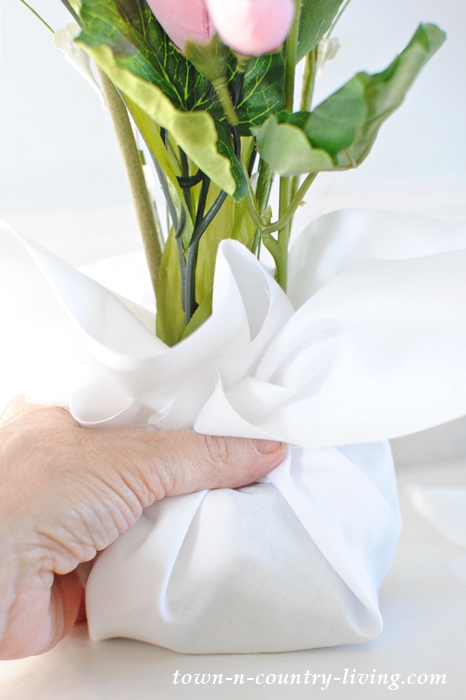
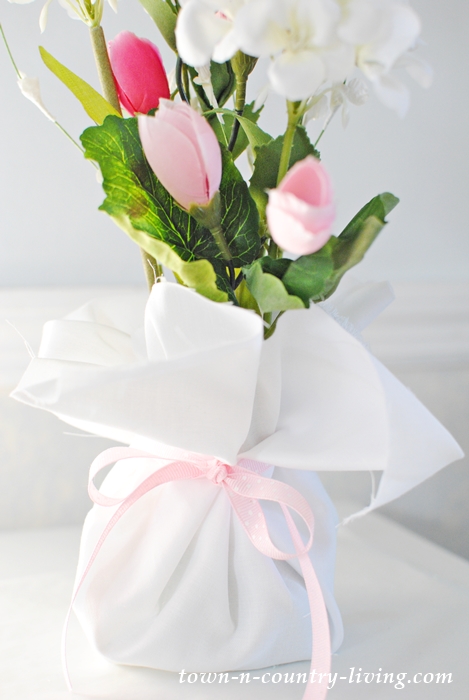
Set the Styrofoam cube in the center of a muslin square, cut to approximately 16″ x 16″. Gather up the ends loosely around the foam.
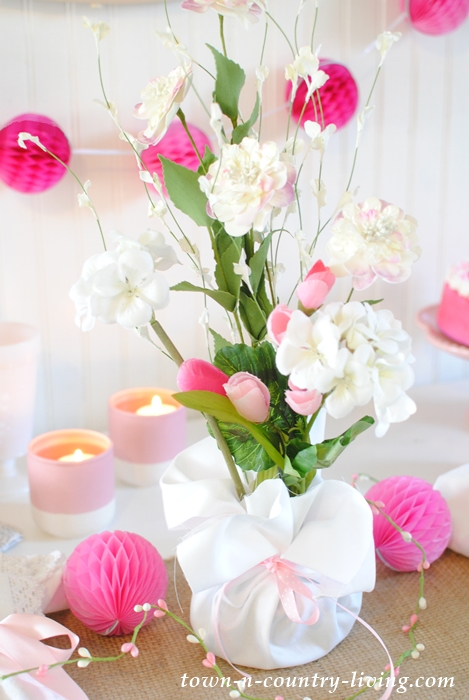
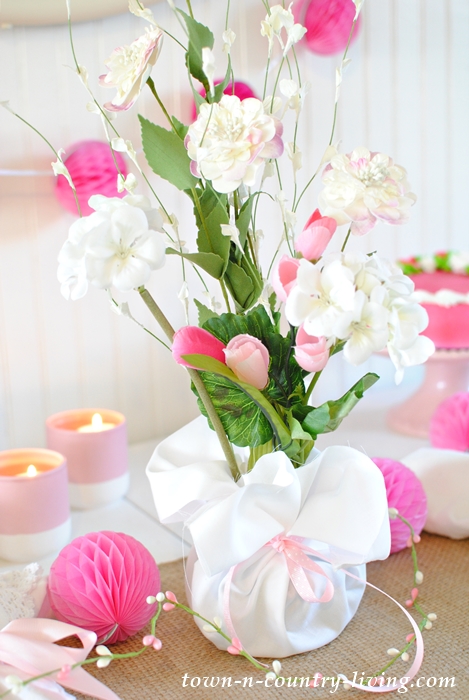
Wrap the pink ribbon around the base of the stems and tie a pretty bow. You might need to shift the fabric a bit to make it even, or even pull the fabric out a little bit so it looks rounded and soft, instead of taut and angular.
What’s great about working with floral stems is that they’re made of flexible wire. You can bend the stems into position, but remember not to be too particular. I think a floral centerpiece looks best when it’s not perfectly symmetrical.
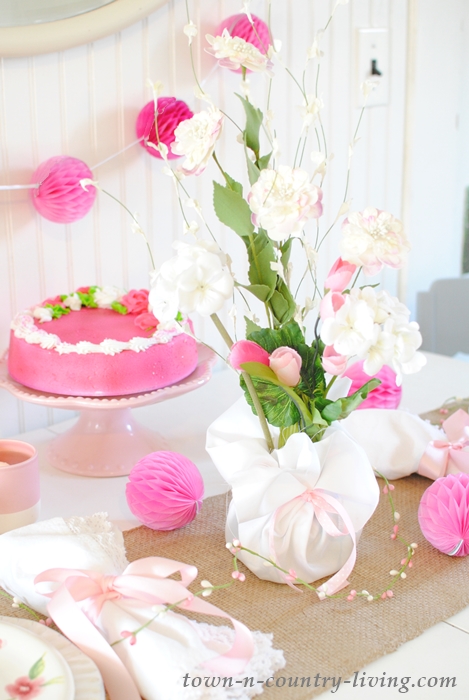
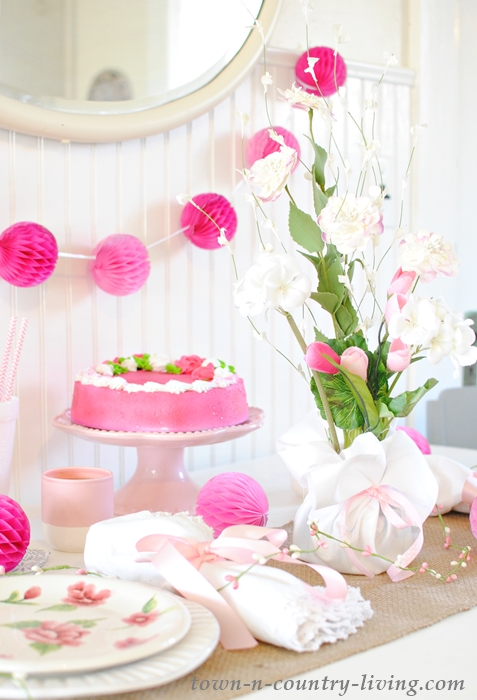
My 10-minute floral centerpiece became the focal point of my kitchen table.
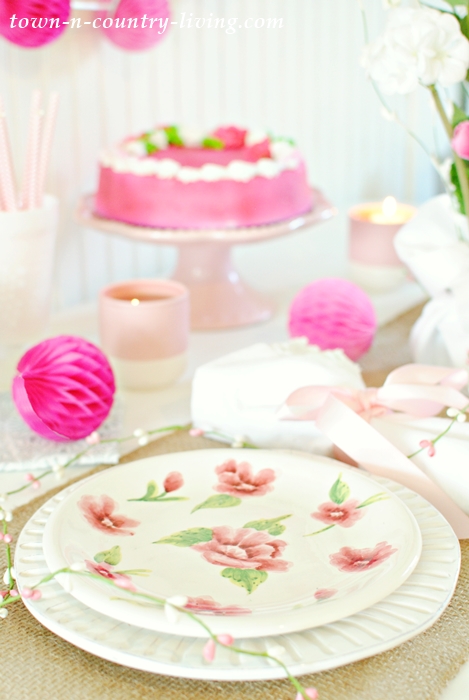
You might remember the pink flowered plates from my pink and white table setting.
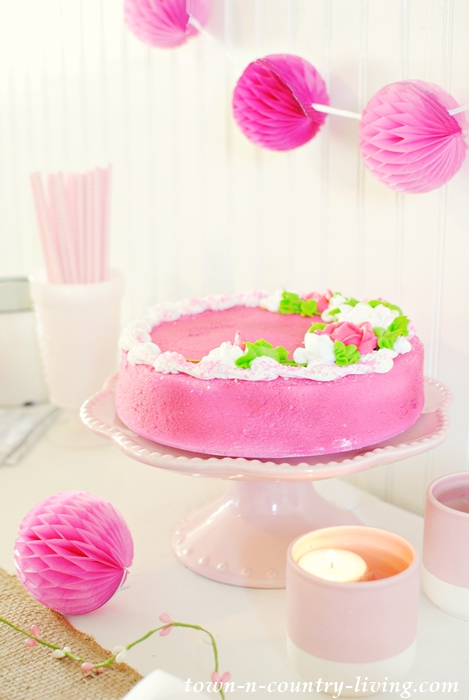
And lucky me … the store had a pretty pink cake!
You’ll find plenty of flower options at the craft store, and you can often find them on sale.
These 10-minute floral centerpieces would be great for parties, showers, or even a DIY wedding. I’d love to know if you end up making one and what color flowers you choose!
In case you missed it, I’m giving away a free copy of The Complete Book of Home Organization. You have until this Friday to enter. The winner will be announced on Saturday.

Love how these arrangements go together quickly. I found I needed to add some extra weight to my foam hidden under the fabric to keep my little arrangements upright. I used a few rocks from my drive to keep things weighted down! Sweet little happy sprigs here and there!!
Wow, so easy to make and such a pretty result. Thanks for sharing this simple but very effective design with us 🙂
I love those plates. Here’s my question where do you store all the pretty dishes ? I have seriously run out of room for any more Dishes! Well, I usually seem to find somewhere to put them ?… I love your tablescapes. Those cute valentine boxes are on my to do list.
This is so pretty Jennifer!!
That is very sweet, pretty and simple!
Very pretty Jennifer! Shared on FB. Like your easy-to-understand tutorial! Such cheery flowers, and I’m sure that cake isn’t real, but it looks good too!
So pretty Jennifer! We are having a birthday party this weekend. Thx to you I have a new idea!
This is gorgeous and so easy, which is what I like. This would be great for a small wedding I am helping to organize, she is on a very budget and this could work for the small tables.
Maria
This is so beautiful Jennifer!!!!…Pinning!
How lovely! I like using silk flowers, which are so easy to position, but I’ve never thought of arranging them like this. Thanks for the easy-to-follow tutorial!
Your floral centerpiece is lovely, Jennifer! <3 I did make a centerpiece recently ~ you'll see it over on my blog under my cream scones featured post. I had purchased a couple of bunches of light and medium pink rose stems at the craft store, cut them short with wire clippers, and tucked them into my new-to-me pink transferware teapot which was missing a lid anyway. I love how the bouquet turned out, and yes it took about ten minutes to make, maybe twenty with fluffing the rose petals.
Have a great day,
Barb 🙂
So beautiful! I love this, beauty with “How To’s”. Pinning!
That is such a beautiful floral centerpiece. I especially think it is unique because of the fabric you have added to the base.
I love this! Simple, but beautiful. Great idea to cover the oasis with fabric!
Jennifer, your centerpiece is lovely. I love the colors! Did you make the pink, paper ball garland? I would like to make those too!
Cyndee