Vintage Paper Mache Boxes: How to Guide
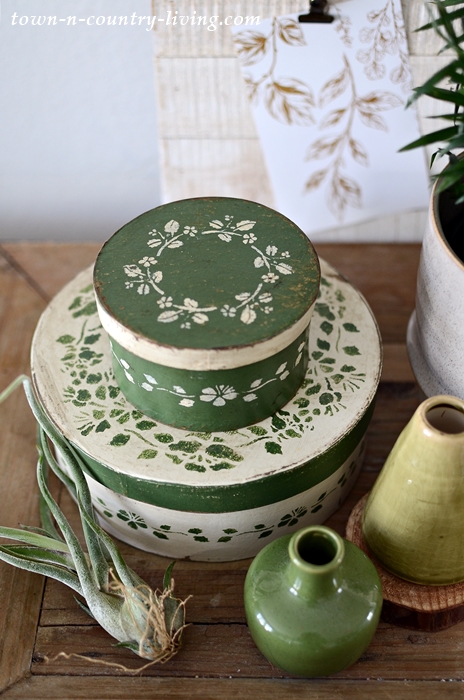
Decorated paper mache boxes make cute storage units for a variety of things, from jewelry to sewing supplies and more. The boxes are fairly cheap and it’s easy to decorate them in vintage style. Read on to find out how! (This post contains affiliate links.)
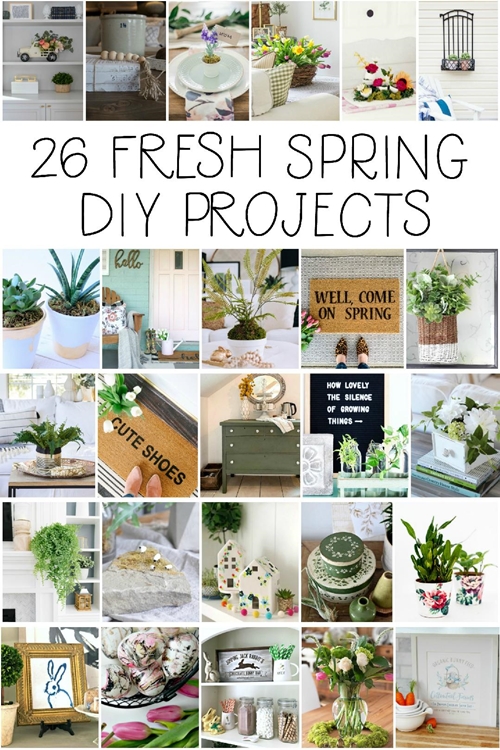
Today I’m joining the Seasonal Simplicity Spring DIY tour hosted by Krista at The Happy Housie and I’ve chosen one of my favorite projects to share with you. You’ll find more crafts and ideas from my blogging friends at the end of this post.
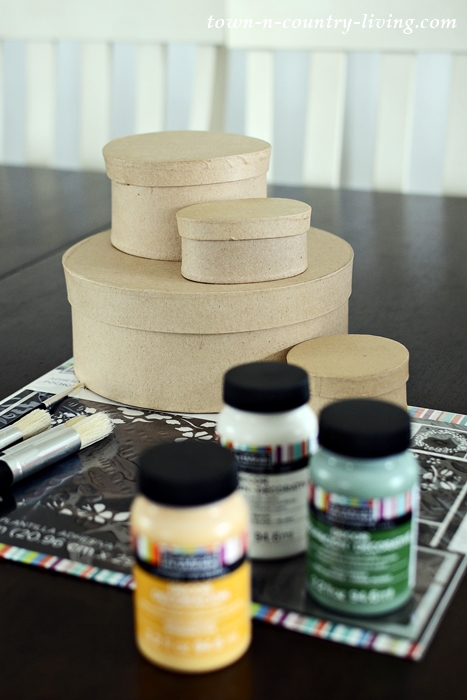
You only need a few supplies to make vintage paper mache boxes.
- Paper mache boxes in various shapes and sizes
- Acrylic paint and brushes
- Stencils
- Fine grit sandpaper
- Dark antiquing wax and cheesecloth
Start by painting a base coat of acrylic paint on the outside of the box bottom and lid. You can use more than one color on a single box. Let the paint dry (about an hour or so) and apply your stencil to the lid and sides of the box.
Using just a touch of acrylic paint, use a dabbing motion with a soft stencil brush to create the pattern. Remove the stencil while the paint is still wet.
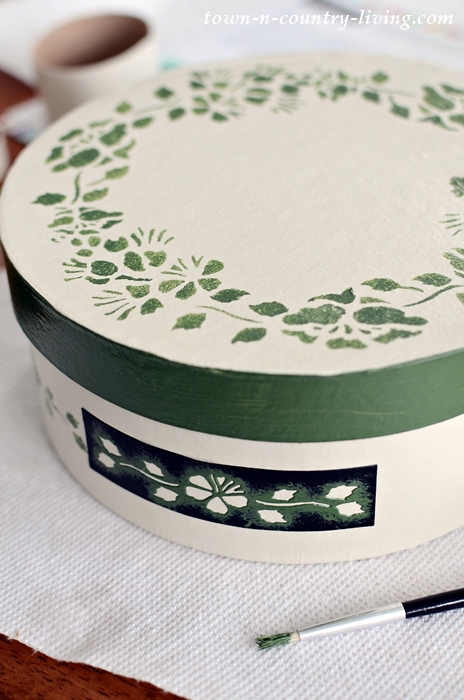
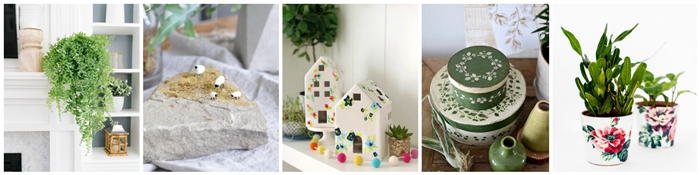
Once the stencil design has thoroughly dried, lightly send the edges of the paper mache boxes to create a worn, distressed look. Wipe the dust off and lightly seal the boxes using cheesecloth to apply a dark wax (the same type of wax you use to seal painted furniture) to give an aged appearance.
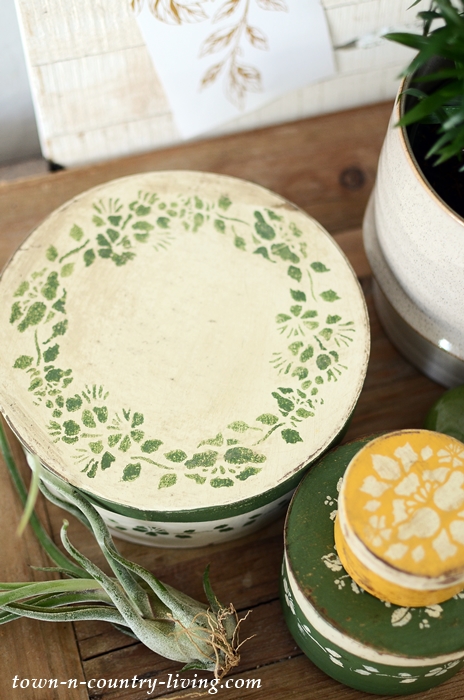
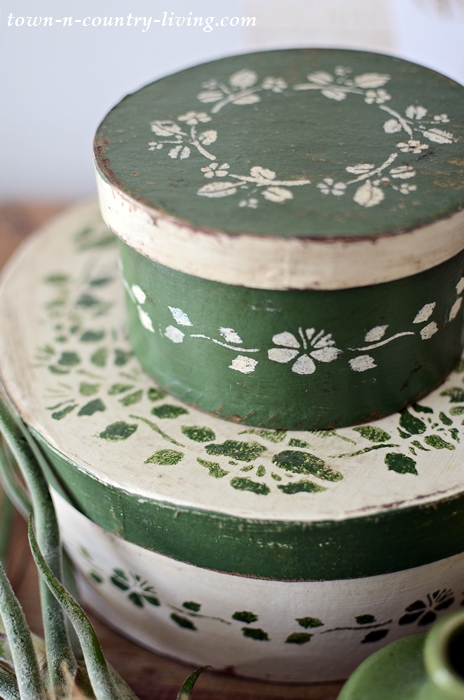
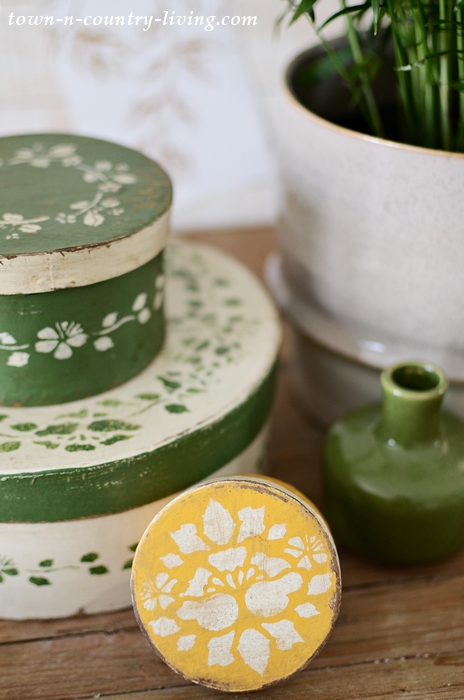
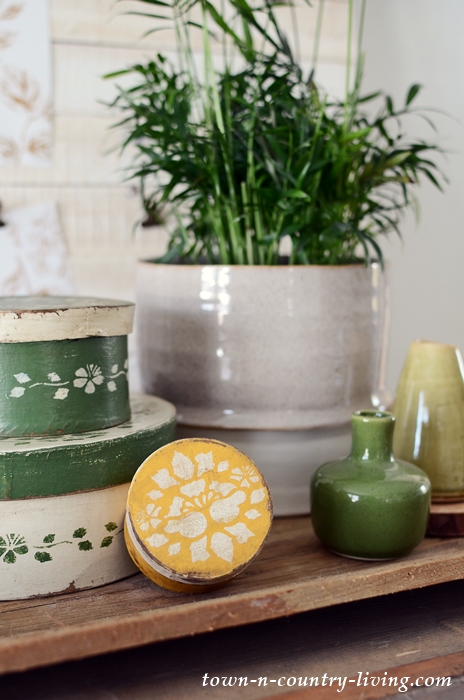
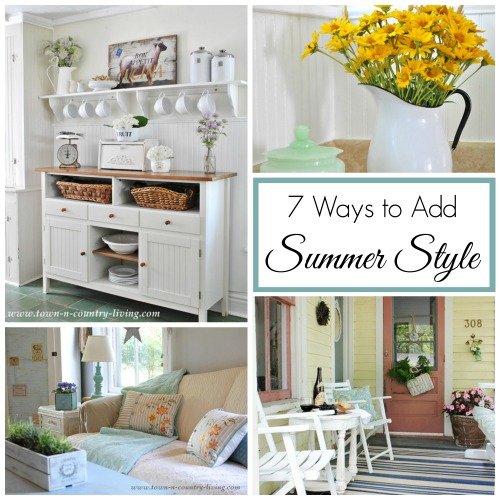
Since spring is almost here, I decided to go with green and off-white for my color scheme. Decorated paper mache boxes are also great for holding small gifts like jewelry and gift cards.

Today I’m joined by a fabulous group of blogging friends who share their Spring DIY Projects as part of the Seasonal Simplicity Spring Series. You’re going to love all this spring inspiration!
The Happy Housie // Lolly Jane // Craftberry Bush
Inspiration for Moms // Rooms FOR Rent
Zevy Joy // Modern Glam // Hallstrom Home
A Pretty Life // Confessions of a Serial DIYer
Jenna Kate at Home // Life is a Party // Tatertots and Jello
Town and Country Living // Place of My Taste
Rambling Renovators // Home Made Lovely // The DIY Mommy // Sincerely, Marie Designs
Paint Me Pink // Amber Tysl
Southern State of Mind // This is Our Bliss // Tauni Everett
Finding Silver Pennies // Clean & Scentsible
Thanks for this project! I rarely do these kinds of things but your boxes look so great that I’m going to do it!
This is so cool! They really do look like antique boxes
These are so special! And they remind me of something my mom had when we were growing up. xoxo
I know that these boxes are styled for spring, but they’re going on my St. Patrick’s Day Pinterest board straight away. They remind me of some of the vintage pieces I saw on my last trip to Ireland. So fun!
Love these little boxes, pinned them, thanks.
How beautiful! Pinned for later!
These are so sweet, Jennifer! I love the lovely stencil design! Glad you could be part of today’s hop:)
I always love your decorated boxes. I like the idea of using the dark wax.
These totally look vintage, Jennifer! Love the dark wax on them! XO
I thought these were actual vintage tins! Great job ! xo
Great job with the boxes. Very refreshing as summer approaches here in Bangalore. Perfect around the kitchen sill with a few pots of herbs.