Wintermint Cake with Ombre Frosting
Last week when I shared my Christmas in the Kitchen post, I promised to share the recipe for the Wintermint Cake you saw in the photos. Let me just say, the cake is amazing and I can still taste its chocolatey goodness when I close my eyes and think about it. This cake recipe is not for the faint of heart. It’s laborious and time consuming … but it is worth every minute of the day that you invest in it! You will not be disappointed with the tasty results!
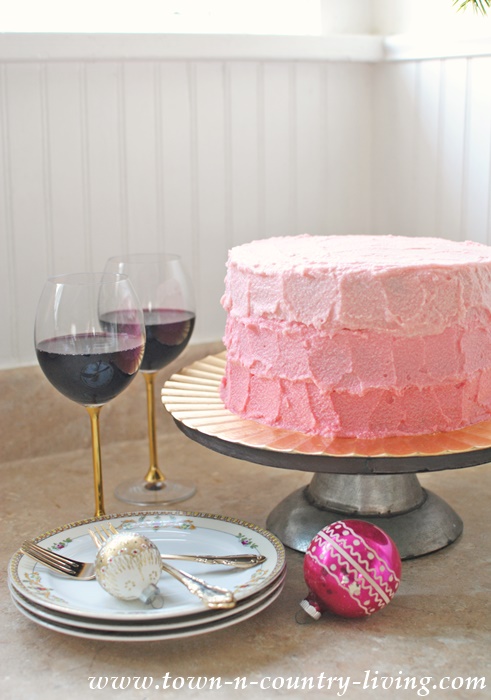
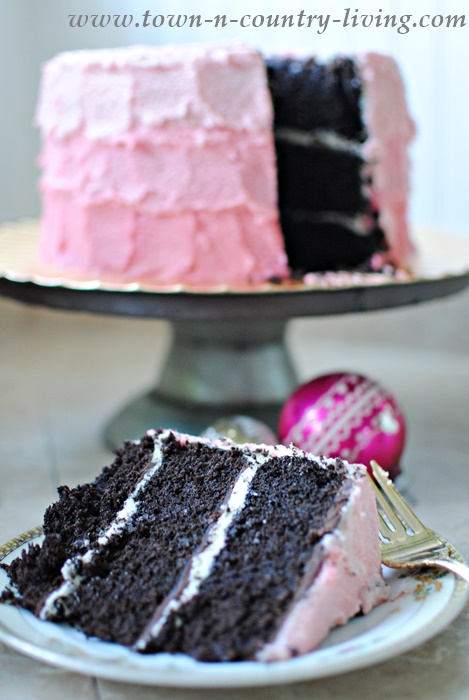
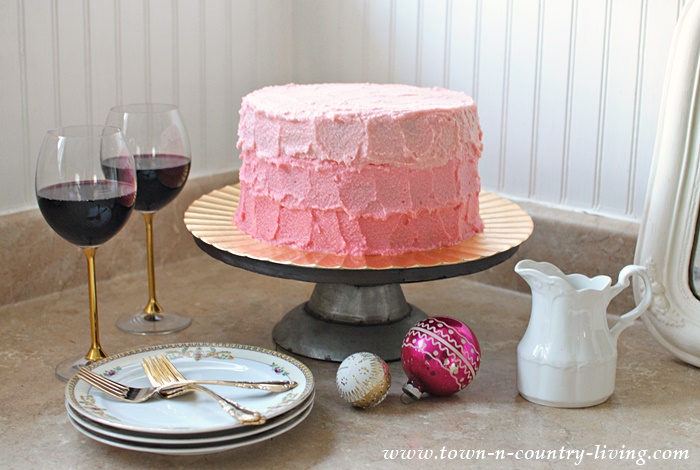

To see what type of wine I paired with my Wintermint Cake, visit my other blog, Blonde on Wine!
Wintermint Cake
Chocolate Cake:
3⁄4 cup dark cocoa powder
1 1⁄4 cups hot water
2⁄3 cup sour cream
2 2⁄3 cups flour, plus more for dusting
2 teaspoons baking powder
1 teaspoon baking soda
1⁄2 teaspoon salt
3⁄4 cup unsalted butter, softened
1⁄2 cup unflavored shortening
1 1⁄2 cups sugar
1 cup dark brown sugar, firmly packed
3 large eggs, at room temperature
1 tablespoon vanilla
Peppermint Buttercream Frosting:
1 1⁄2 cups sugar
1⁄3 cup all-purpose flour
1 1⁄2 cups milk
1⁄3 cup heavy cream
1 1⁄2 cups unsalted butter, soft but cool, cut into small pieces
1 teaspoon pure vanilla extract
1/2 teaspoon peppermint extract
Mint Chocolate Ganache:
6 oz dark chocolate (60–72%), chopped coarsely
1⁄2 cup heavy cream
1⁄2 teaspoon peppermint extract
For the Chocolate Cake, preheat oven to 325° degrees. Butter and flour 3 cake pans, line with parchment, and butter the parchment. Mix cocoa powder, hot water, and sour cream together and set aside to cool. Sift flour, baking soda, baking powder, and salt, and set aside. Beat butter and shortening together on medium speed until light and fluffy, about 5 minutes. Add sugars beat until light and fluffy, about 5 more minutes. Add the eggs, 1 at a time, and then vanilla, and beat until incorporated. Then, slowly add the dry mixture and cocoa mixture to the batter, alternating the 2 kinds and ending with dry. Divide batter between 3 pans and spread evenly. Bake for 35–40 minutes (rotate the pans halfway through) or until a toothpick comes out clean.
For the Peppermint Buttercream Frosting, In a medium heavy-bottomed saucepan, whisk sugar and flour together. Then add milk and cream and cook over medium heat, whisking occasionally, until mixture comes to a boil and has thickened. This will take about 10–15 minutes. Transfer mixture to bowl of an electric mixer fitted with the paddle attachment. Beat on high until cool, which will take about 7–9 minutes of mixing. Reduce speed to low and add butter. Mix until incorporated. Increase to medium-high and beat until frosting is light and fluffy, about 1–2 minutes. Add vanilla and peppermint extract and continue mixing until combined. If frosting is too soft, put bowl in refrigerator to chill slightly, then beat again until it is proper consistency. If frosting is too firm, set bowl over a pot of simmering water and beat with a wooden spoon until it is the proper consistency.
For the Mint Chocolate Ganache, place chocolate in a medium heatproof bowl and set aside. In a small saucepan over medium heat, bring cream just to a boil. Remove cream from heat and pour over bowl of chocolate. Let sit for 2 minutes, then slowly stir the chocolate and cream mixture until chocolate is completely melted and smooth. Then, let ganache come to room temperature.
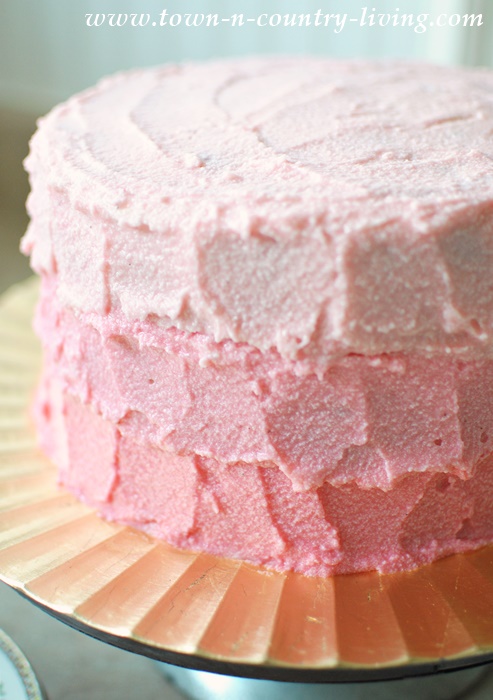
To assemble the Wintermint Cake, place 1 cake layer on a serving platter. Trim cake layer to create a flat surface and use offset spatula to spread about 1⁄4 cup of ganache on top only. Let set for 1 minute in refrigerator. Spread approximately 1 cup of buttercream on top of ganache. Repeat with following 2 layers. Crumb coat cake by spreading a very thin layer of frosting on top and sides of cake and refrigerate for approximately 15 minutes. Divide the frosting into thirds, with one bowl containing about 1/4 cup more frosting than the other two. Add red dye to create 3 shades of pink, from slightly dark to pale. Starting at the bottom, spread darkest shade of buttercream about 1/3 up the cake. Follow by spreading the next shade of frosting around the middle third of the cake. Spread the lightest shade of buttercream on the top third of the cake sides. Finish by frosting the top with the remaining light shade of pink. Add texture to the sides of the cake using the spatula, and slightly blend layers of frosting on the sides of cake. Cut and serve.
Cake will store for 3 days in sealed cake holder. It can also be refrigerated for up to 3 days.





This cake is definitely on the agenda for the holidays!….Amazing!..and love the idea of wine with the cake! 🙂
This looks DELICIOUS! I am going to try it. Thanks for posting