Wooden Christmas Ornaments with Free Printable
Next week is Thanksgiving and I’ve been trying to get the majority of my Christmas decorating done before then. I’ve never finished decorating for the holidays this early, but this year I want to spend as much time as possible with my family during the holiday season. I’m also keeping my decorating simpler and feel much less stressed than I did last year. I do enjoy small Christmas projects though, like the wooden Christmas ornaments I recently made. (This post contains affiliate links.)
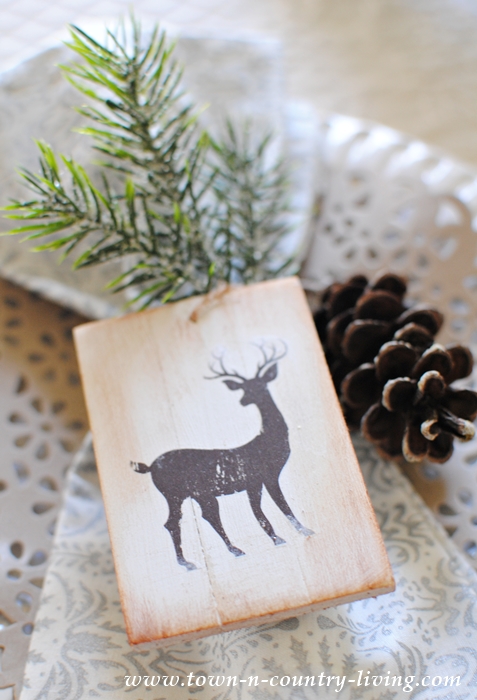
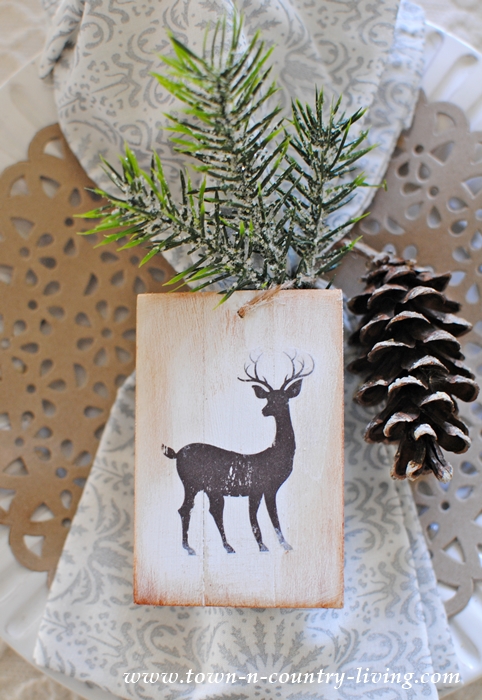
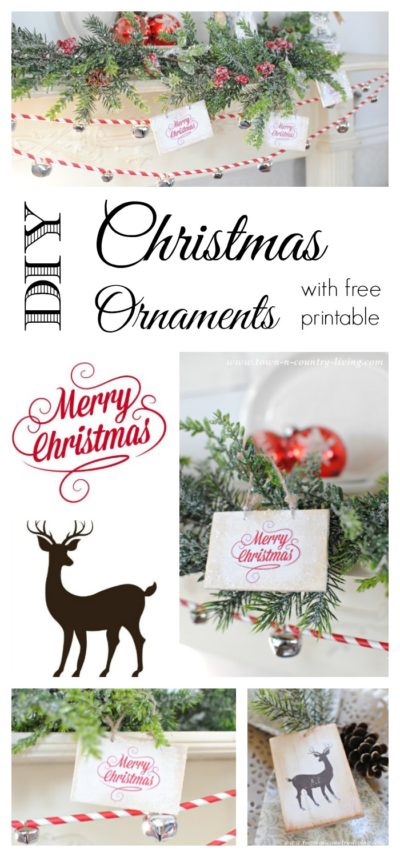
I made the Merry Christmas ornament along with a reindeer ornament. I made them two different ways and you can get the free printable for each at the end of the post.
For this project you’ll need plain wooden ornaments; I used rectangles but you can choose any shape. I painted the fronts and backs with a chalk-type paint in white. Let dry, and then sand slightly around the edges.
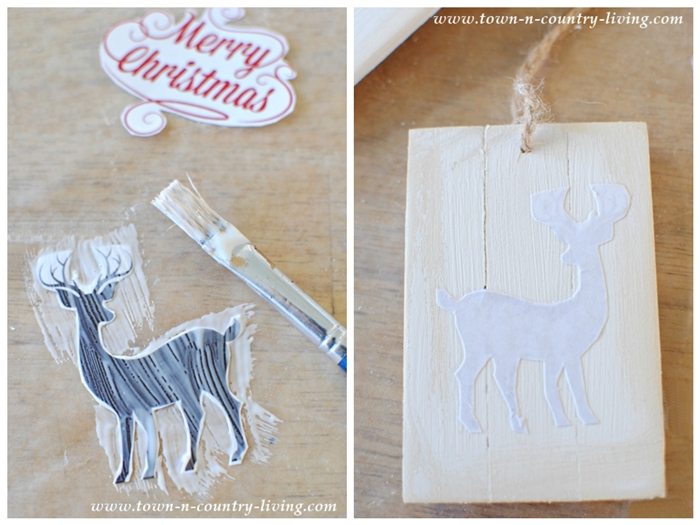
For the reindeer ornament I applied an image transfer process using a laser printer. After cutting the image out, I brushed a thin layer of Mod Podge to the printed side. I then carefully applied the graphic to the painted wooden ornament, carefully pressing down to remove air bubbles. I let the images dry overnight.
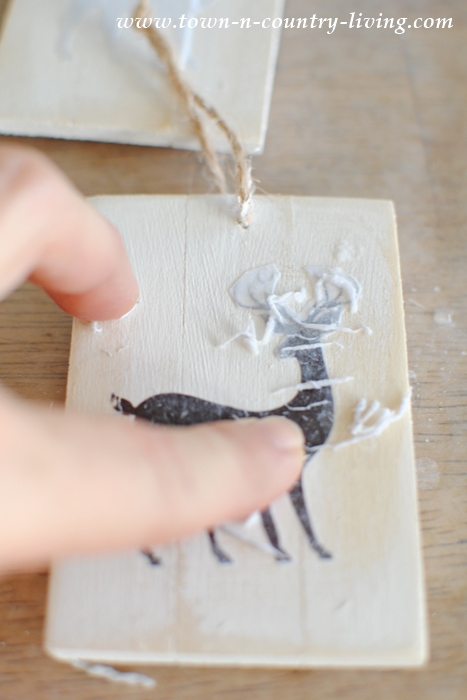
In the morning I spritzed a bit of water over the entire graphic. You want it moist, not saturated. I let the water sit on the image for just a few seconds, and then rubbed very lightly over the image, removing the paper but leaving the ink behind. If you want a perfect transfer, this is not the process to use. But if you like a slightly worn look, this method is perfect. Some of the ink might come off completely, and if you rub harder you’ll remove more.
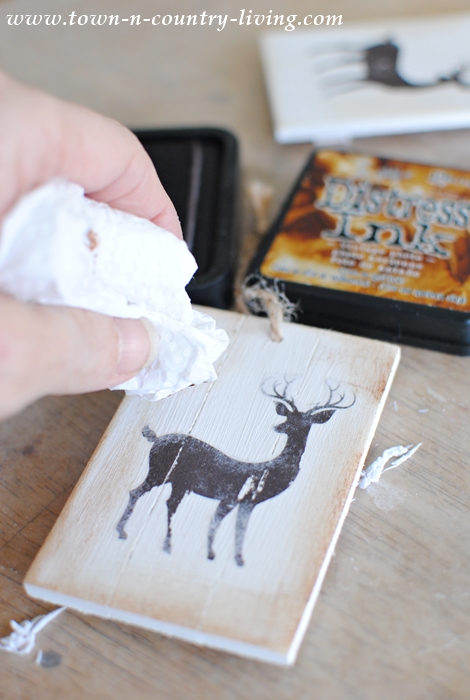
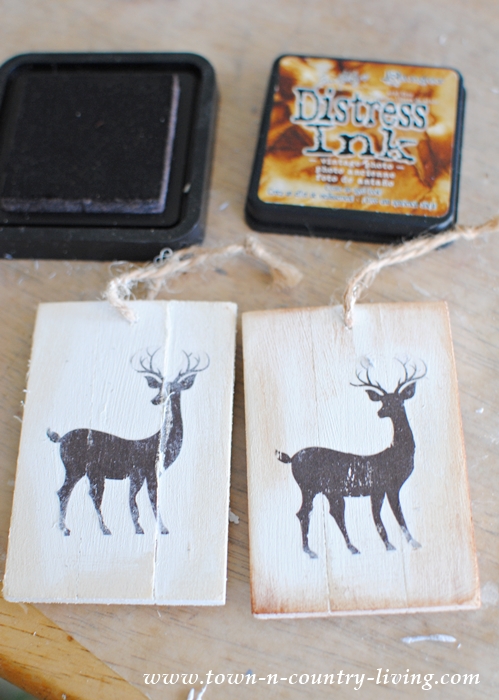
To age the ornament, I applied a very slight amount of brown Distress Ink. Dab a paper towel or soft cloth onto the ink pad, and then gently rub the ink around the edges of the ornament until you get the look you want. I would advise practicing on the back side of the ornament, in order to make sure you have the right touch. Less is more.
You can see the difference between the wooden Christmas ornaments; the one on the right has been distressed. The other has not. I think the distressed one has more depth and character, but beauty is in the eye of the beholder. You can protect the ornament with a thin top coat of matte varnish if you want.
Hang your wooden Christmas ornaments on the tree or use them as party favors at a place setting.
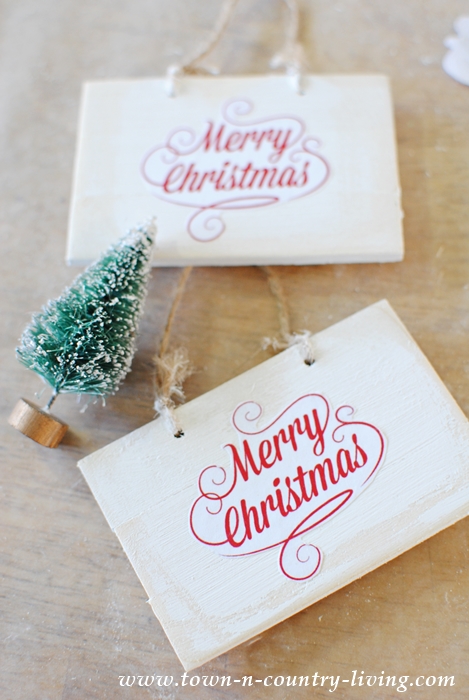
The Merry Christmas ornaments were made using a simple decoupage process.
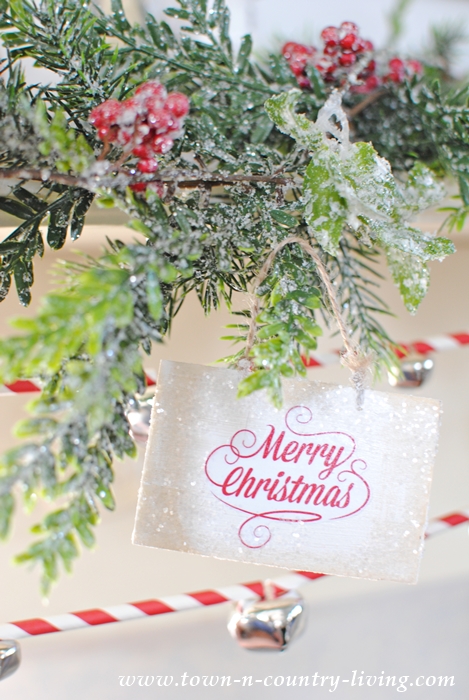
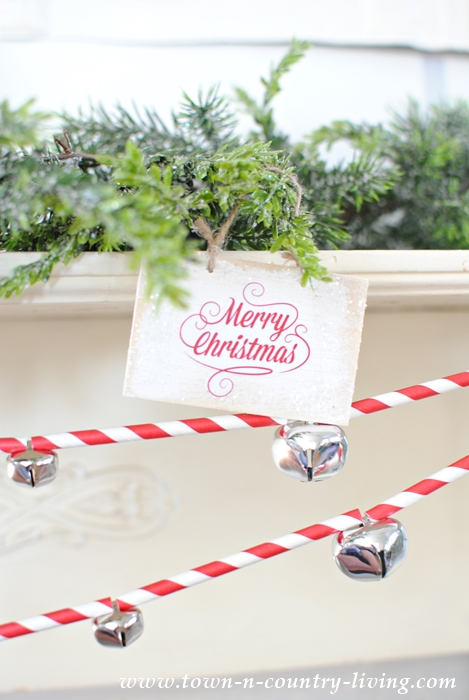
Cut around the Merry Christmas graphic as close as possible without cutting off any of the red ink. Apply a thin layer of Mod Podge to the unprinted side (opposite of the reindeer ornaments) of the graphic and glue it onto the painted wood ornament. Press down and carefully rub out any air bubbles. Let it dry completely and then apply a thin top coat of matte varnish. Immediately sprinkle glitter around the edges of the ornament. The glitter will stick to the varnish.
I hung these wooden Christmas ornaments from greenery on the mantel, and also made the garland by cutting red and white straws in half and stringing them on twine, with a silver jingle bell separating each straw half. I saw the jingle bell garland in a Christmas magazine on Issuu but I can’t remember which one it was.
Click here to download a pdf file of the Merry Christmas and Reindeer printables.
You can use any image; just be sure to print them on a laser printer. I hope you enjoy making these wooden Christmas ornaments!







Quite charming ♥
Love all your ideas…Thank you and a Merry Christmas to you!
So adorable! I love both of them!
Cool project. Great post and tutorial. Thanks for sharing this.
You are so clever. I especially like the straw and bell idea.