How to Create Pretty Paper Lanterns
When it comes to decorating for parties or special events, I love using flowers, banners and buntings, and paper lanterns.
I had white paper lanterns on hand from Easter and decided to alter them a bit for a unique look.
I had seen something similar on a wedding blog and felt inspired to create pretty paper lanterns.
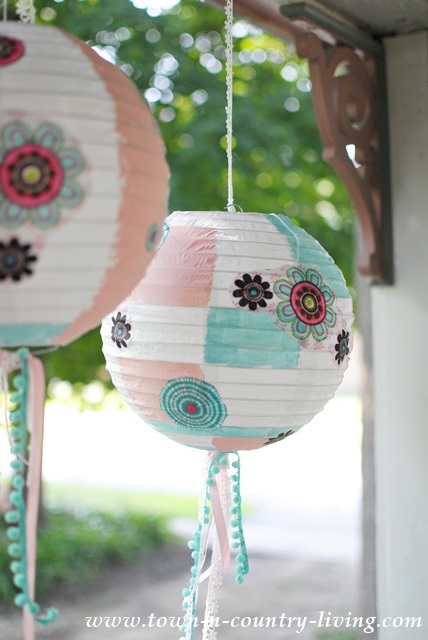
(These pictures were taken before we painted our front porch.)
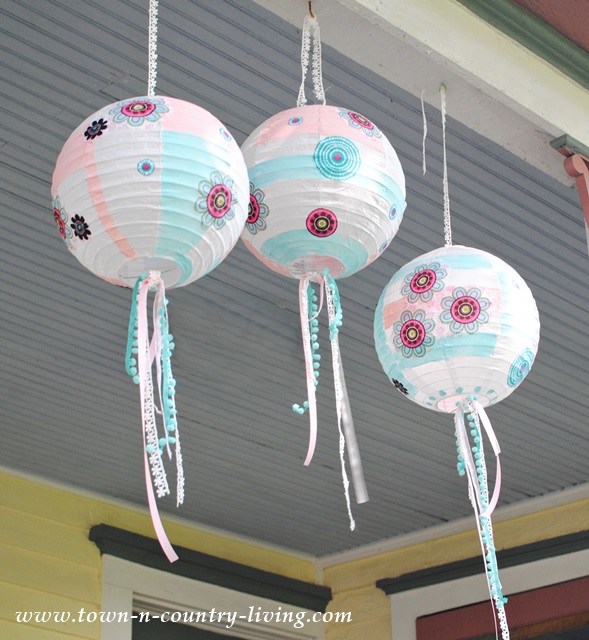
These are so easy to make and I think you’ll have fun doing it!
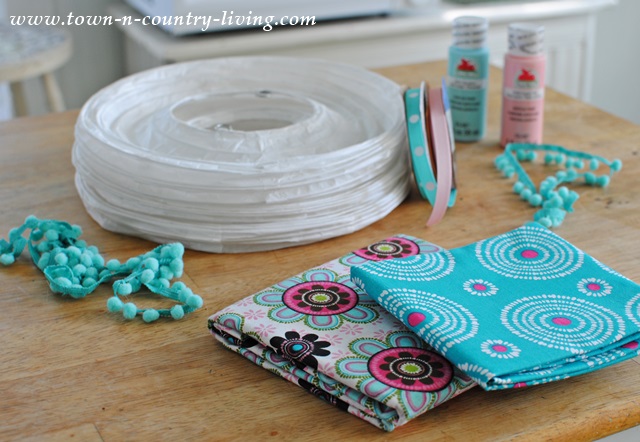
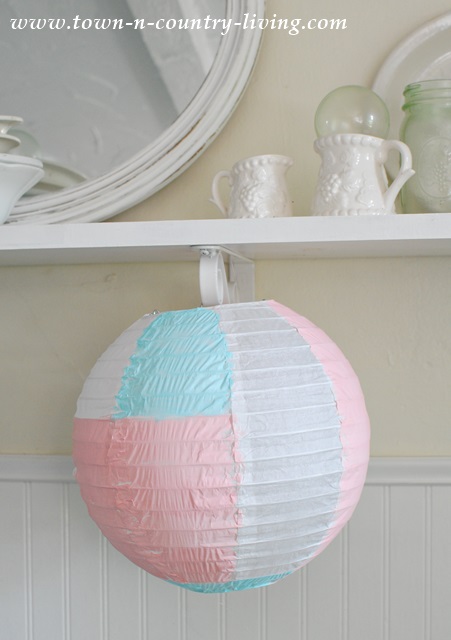
You’ll want to first expand the lantern and then paint color blocks.
Use the wire ribbing as your guide to painting within the lines.
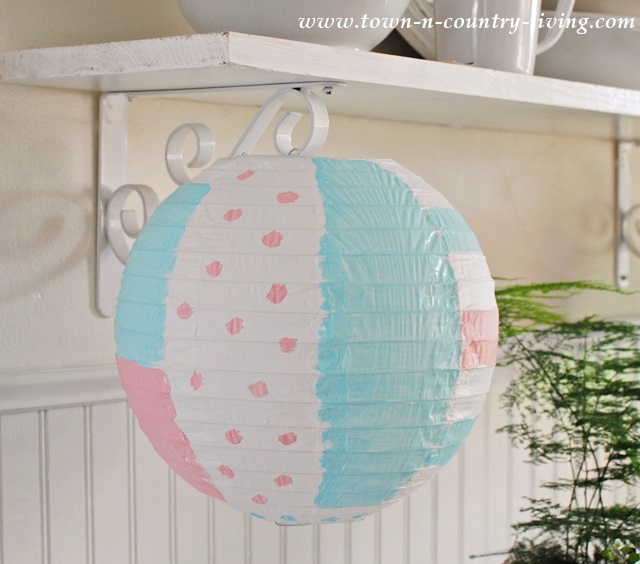
Hang lanterns to dry when you’re done painting.
You could stop right here if you want and still have a pretty paper lantern.
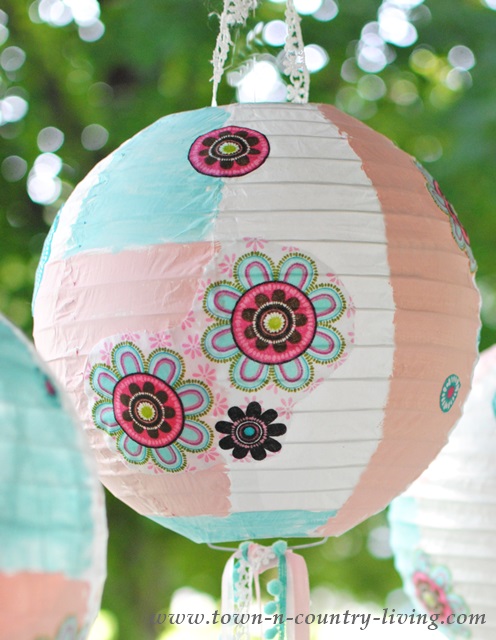
Apply Mod Podge to the wrong side of fabric and carefully adhere to lantern.
Very lightly smooth any bumps with your fingers.
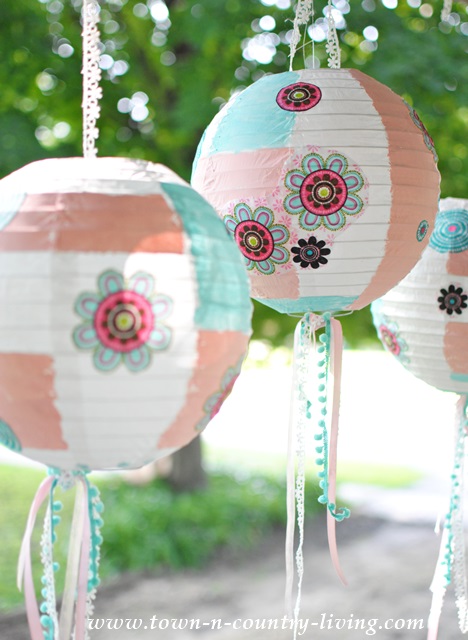
I found cute little pom pom trim that worked great with the ribbons.
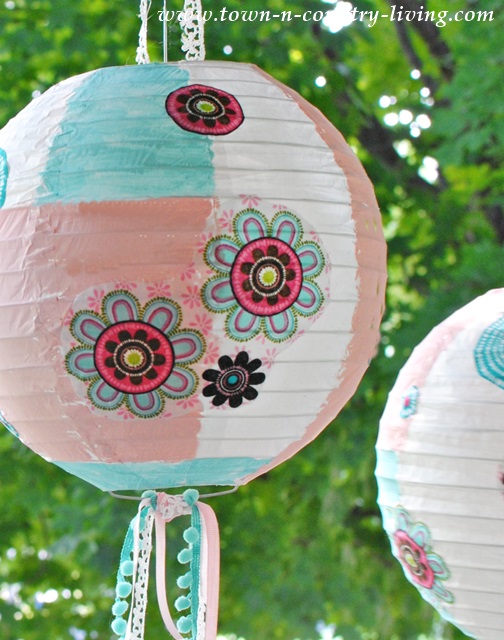
I think these would look cute in a girl’s room all year round!
My wheels are already spinning with more ideas for creating pretty paper lanterns.



Thank you for sharing, Jennifer. The lanterns are so pretty!
They would like nice in a little girl’s room.
Cndee
Let me try that again…They would look nice in a little girl’s room.
Gosh these are adorable and any store would love to get their hands on them and sell them just like this