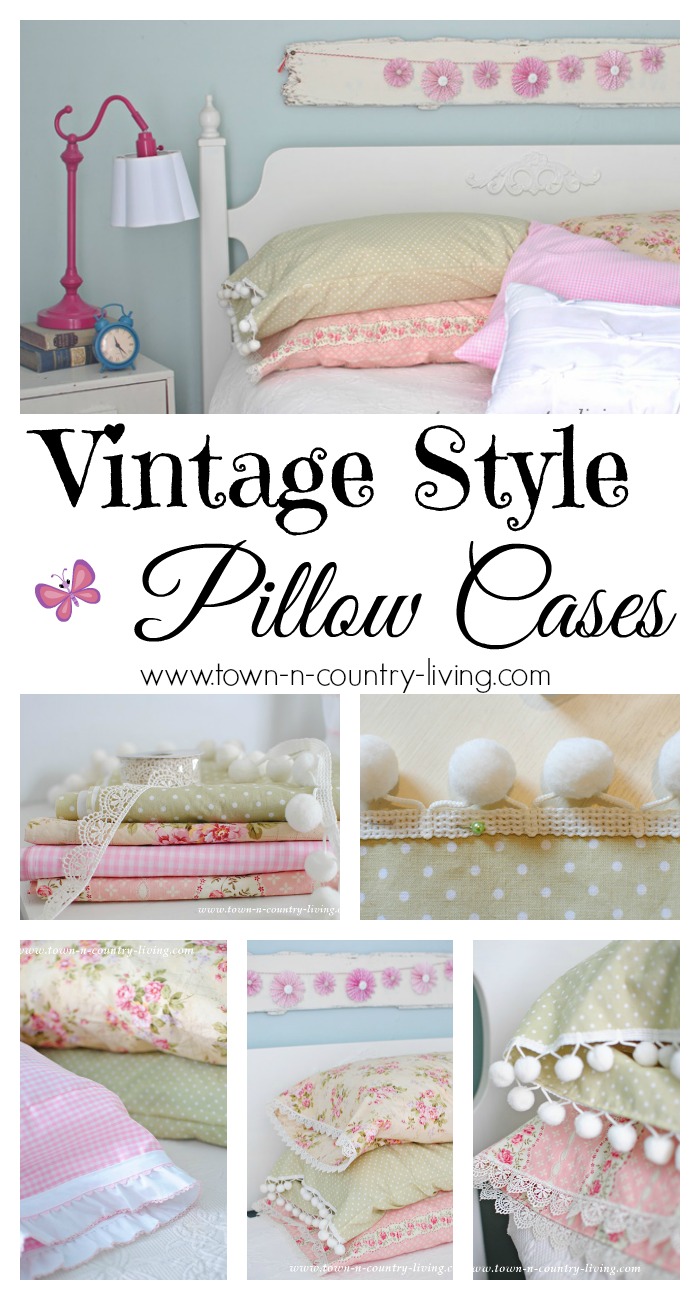
DIY Vintage Style Pillow Cases
Back in the day when I used to sew a lot, I loved looking through all the rows of fabrics at the Golden Thimble. Even as a young girl I was drawn to vintage style calico, cotton blends, and pretty lace. In 8th grade home economics class we had to sew a piece of clothing and wear it in a fashion show. I was the only one who made a dress. Unfortunately, one sleeve ended up being longer than the other. No problem. I simply rolled up the sleeves during the show and no one was the wiser. I don’t sew clothes anymore but I do enjoy sewing simple things for the home, like these DIY vintage style pillow cases.
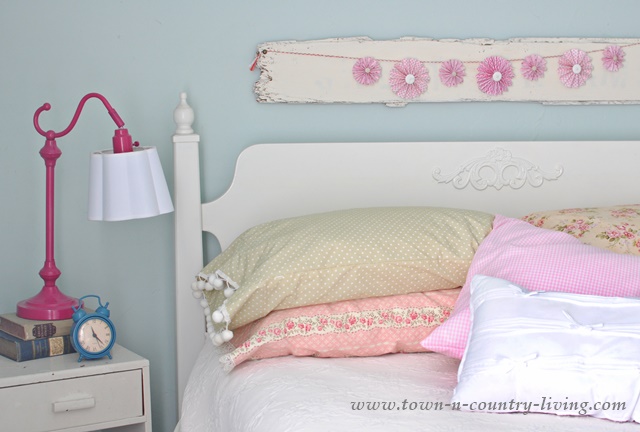
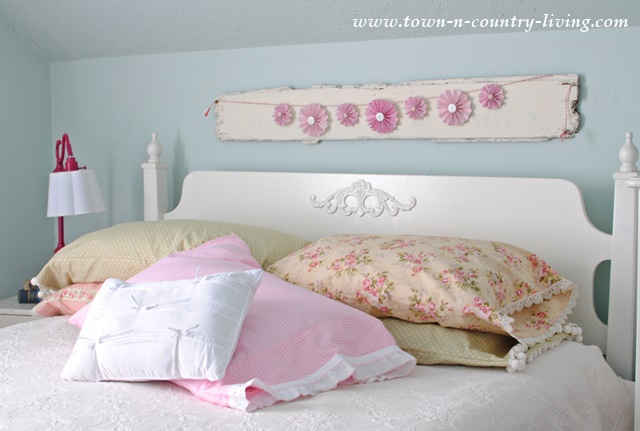 Making your own pillow cases provides the opportunity to easily customize your bedding without spending a fortune. The pillows look pretty on the bed without any shams to embellish them (or cover them up).
 Plus there are so many pretty fabrics and trims from which to choose. I love mixing prints and colors and lots of pillows on the bed gives me the chance to do some mixing and matching. Pillow cases are easy to make and don’t require technical sewing techniques. You don’t even need a pattern to make these.
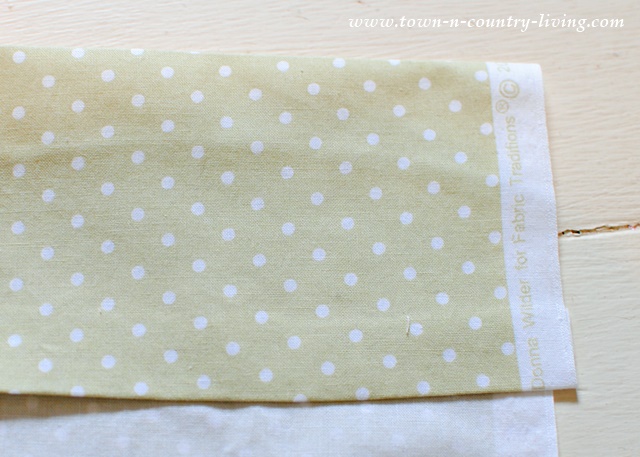
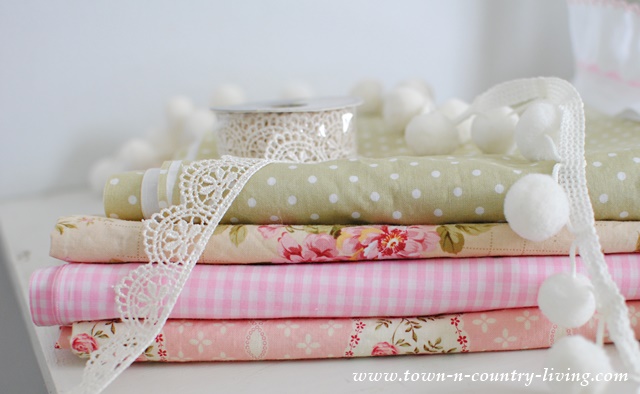 Start by choosing your fabrics and trims. I prefer calico fabrics for pillow cases because they’re soft next to your skin. Woven lace and ball fringe make great trim for the pillows. You need 1 yard of fabric per pillow case and approximately 42″ of trim or lace. Always wash your fabrics before sewing. Iron if needed.
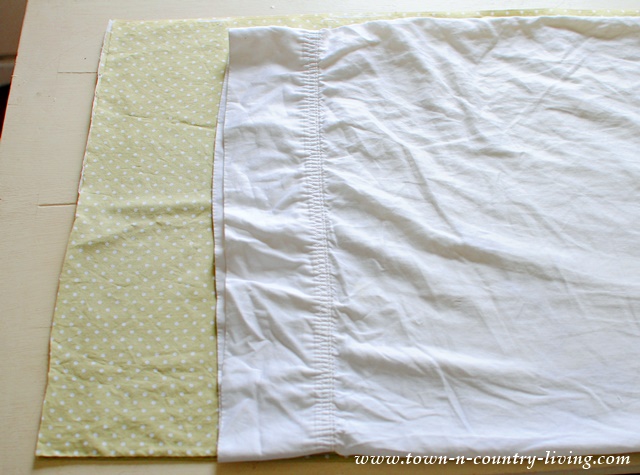 I grabbed an existing pillow case and laid it on top of my fabric, using it as a guide for the size. Allow about a half-inch along the sides for the seams, but at the end of the pillow, allow an extra 5 inches so you can make a wide hem. Your fabric is folded in half and the folded edge means one less seam to sew.
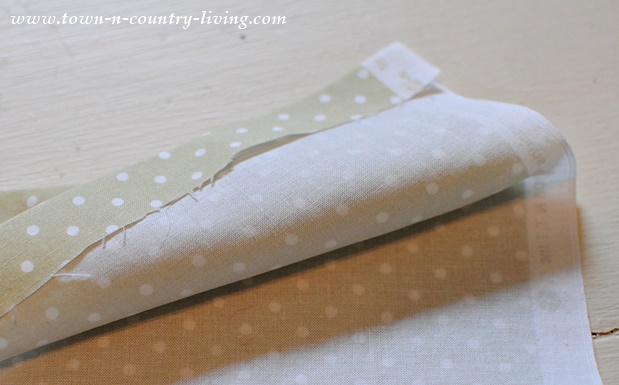 After cutting your fabric to size, iron under about 1/2 inch at the open edge of the pillow case.
 Then fold over 4 1/2 inches worth of fabric for a wide hem and stitch close to the bottom edge making sure to catch the 1/2 inch of fabric that’s folded under.
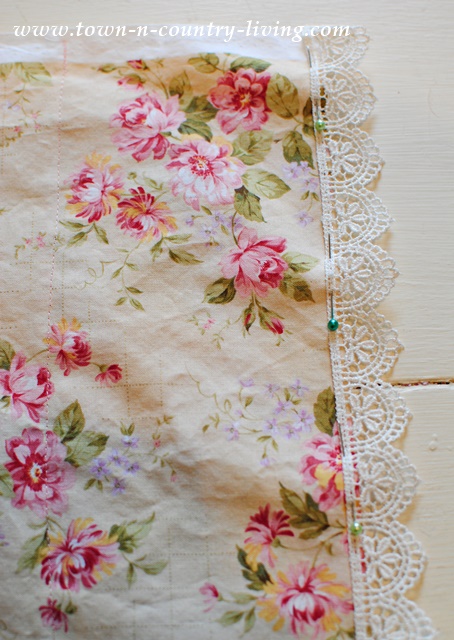
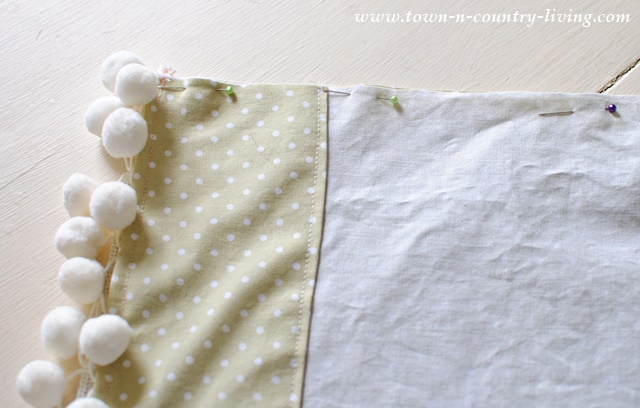
 Now pin your trim onto the finished edge of the pillow case and sew in place.
 Take your time and don’t rush this.
Nothing’s worse than having to rip out a seam and start over.
 Once the trim is sewn onto the finished end of the pillow case, fold the right sides of the fabric together. Pin in place and then sew along the long edge and the unfinished short edge of the pillow case. Then simply turn the pillow case inside out and stuff your pillow inside!
 Your lace or trim can be wide or narrow.
Just make sure it’s not something that will annoy you when sleeping.
I found a cool button trim but it wouldn’t feel good on the face so I didn’t buy it.
 It’s so much fun picking out coordinating fabrics. If you struggle with this, don’t despair! Usually fabrics are attractively grouped in the store, making it easier to select complementary patterns and colors. You can always ask the ladies at the store for help, too.
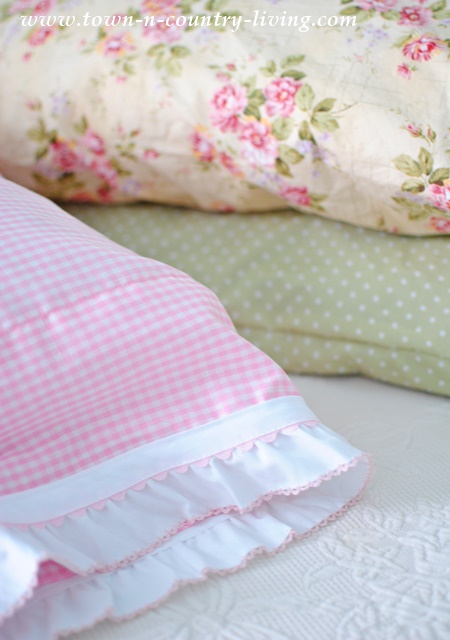
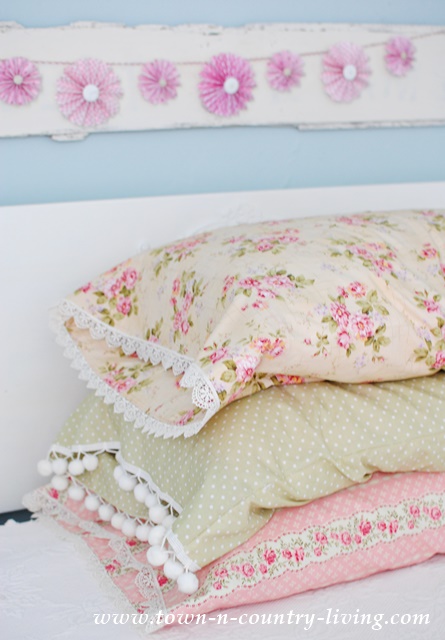
 You can see why you need an extra wide hem on the pillow cases. When they’re stacked on the bed, you can see the inside edges so it’s nice to have the right side of the fabric showing when they fall open like this.
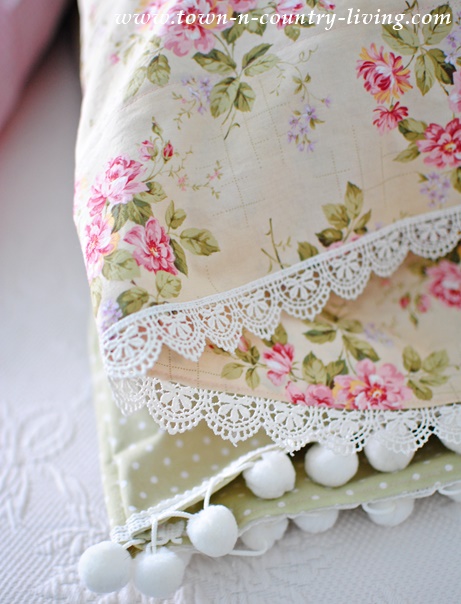
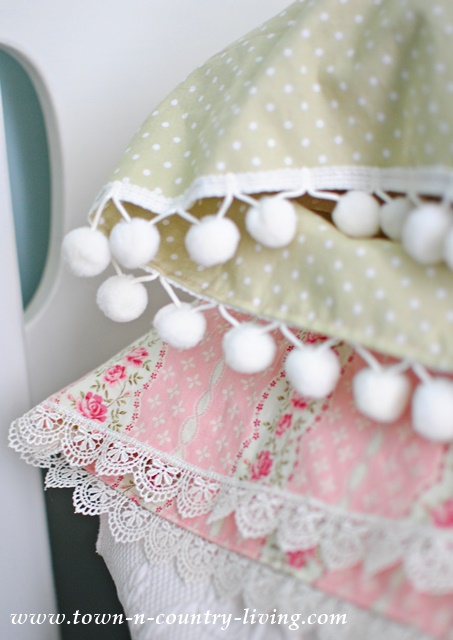 I added ball fringe, or pom pom trim, to the polka dot fabric because the ball fringe mimics the white polka dots. On the floral fabrics, I opted for a feminine, woven lace.
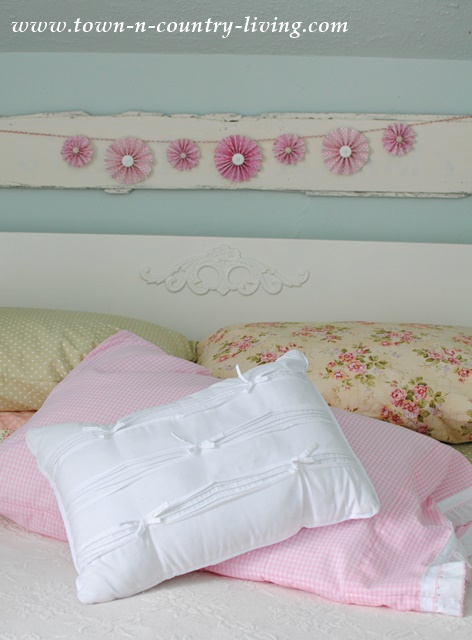 I love my new DIY vintage style pillow cases.
They lend a cottage feel to my bedroom and brighten my spirits.
 And since we just got pounded with about a foot of snow in the last 24 hours, I can use a little spring time freshness to fight the cabin fever that’s settling in.
 I might make more of these vintage style pillow cases to sell on Etsy.
My next sewing project is to make pillows for my sectional!

omigosh, so pretty you almost make me wish I had a sewing machine…
almost.
🙂
Love the vintage look of the pillow cases. They remind me of my grandmothers pillows.
BEAUTIFUL pillow cases…my question, what about washing…do you do these by hand or put in washer? Some trim may not wash so well, like the Pom pom…or did you pre wash even the trims before sewing onto case fabric? Thanks for posting such a cherry article….here in Connecticut we are getting blasted with snow, AGAIN!!!!! As they say…..POOR MANS FERTILIZER!!!!
Hi Karen! Always follow the manufacturer’s instructions for washing. If it’s not listed on the bolt of fabric in the store, ask the clerk to look it up for you. You can wash both the trim and the fabric prior to sewing. Some trims may not be good for the washing machine (fancy ones with beading, etc) so keep that in mind before you buy. Hope this helps!
Love these, Jennifer. I just said to my hubby that we need to get some new pillowcases. I never thought to make them. Thanks for the tutorial. You definitely should sell some in your shop–very pretty!!
I love these! I have been wanting some pillowcases I have seen on etsy with crocheted trim but they are $30+ and I can’t crochet so I was sad I couldn’t DIY them. These are just as cute! Thanks for the inspiration! karen…
Hi Jennifer, your pillow cases are wonderful. Just what is needed for cabin fever.
What a great project!!! I made pillowcases years ago, forgot about that………by the way, always cut off the selvage edges before sewing. When washed and dried they shrink in a different direction from the main fabric. I have lots of fabric and this is a good way to use it up!!!
Stay toasty and safe!!! We’re getting hit hard with the snow and wind…….
Thanks Jennifer for the Inspiration!! I sew and I never thought of making my own Pillowcases, and I Love Pretty Linens that of course are hard to find at a reasonable price~
Huggs, Nancy
Hi Jennifer,
I don’t have cabin fever and, honestly, I wish I could see some snow. I kinda miss it….. in Florida we don’t get much snow. lol Believe me, I’m not laughing at you. Being from the East coast I have seen my share. Anyway, THANK YOU! This is a fantastic easy project no matter where you are. I made pillow cases years ago and I still have them! I don’t think they will ever wear out. I’m definitely going to make up some new ones. Thanks for the inspiration.
I love making my own pillowcases also but I have never added anything but a ruffle. Now you’ve got me thinking. Love the fabric you’ve picked for your project too! So bright and cheerful, makes me think of spring!
Those pillowcases are so beautiful, Jennifer! Seeing those in my rooms would lift my spirits too. I am with you in your fabric choices and I like the feel of soft, smooth and cool next to my skin. Comfort is a foremost consideration in my book. Your writing about the dress you created to wear in the fashion show. I remember the first complete dress I made to wear in the fashion show. It was lavender cotton and was too tight in the rear end, so I felt pretty conspicuous walking across that stage!
So pretty Jennifer. They do add some sweet color to your bed. Yep we got 15 inches here and it was nice to see the sun out today. I guess a few more inches are on the way tomorrow. Ughhhhhh I so want summer!!!!
Have a great week.
Kris
Oh, your pillowcases are so very pretty! Thanks for that sweet bit of spring-y-ness.
Oh Jennifer, these are gorgeous! What a great idea. I’m sharing on my FB page today 😉
Hugs, Jamie
These are truly beautiful, and I’m thinking they would go perfect with the cottage style bedroom I’m envisioned for the master. They don’t look too awfully hard to make either!
Super cute pillowcases, Jennifer. You really have an eye for combining patterns and trims.
Hi, I’m in love with u pillows, I try to find the calico fabric with no result.
I’d like the same fabrics as in the pictures on the blog of the 2nd of February 20015.
Thank you
Stefania
Pretty pillowslips but would wear better if French seamed, like my Grandma made them in 1910 and the pillow would stay in place better if tapes were sewn in when the hem was stitched, also like Grandma did. Could put a flap/envelope instead of tapes.
Hello,
My first time here and I love it! I also saw your peonies. They are a great memory from my childhood. May Mom had them all long the North side of the house. They were beautiful. The sad part was when they bloomed. We then knew that we were going to get a storm in the next day or two. But in the meantime, the blooms were wonderful color. Unfortunately, we couldn’t bring them inside because of the mountain of ants on the blooms!
Blessings to all of you,
Marie
Gorgeous!!! Thanks for sharing!
These are beautiful! Considering this for a fun girls weekend activity. About how much do these supplies cost per pillow case?
Thank you for this tutorial. I was using a much tougher method to sew a bottom band on a pillowcase dress, and your instructions made my life so much easier!
Bonjour,
je recherche des sets de tables en forme de coeurs ainsi qu’un dessus de buffet.
Que proposez-vous comme coussins?
A quelle adresse du site peut-on se procurer vos articles?
Merci de vos réponses. Bonne journée