Decorating Dessert Plates with Sharpies
If you’ve been around Pinterest for any length of time, chances are you’ve seen photos of mugs, bowls, and plates decorated with Sharpies. This looked like a fun project to try so I did a bit of research before decorating dessert plates with Sharpies. I found some really helpful information that’s critical to the success of this project. (See food safety info at the end of the post.)
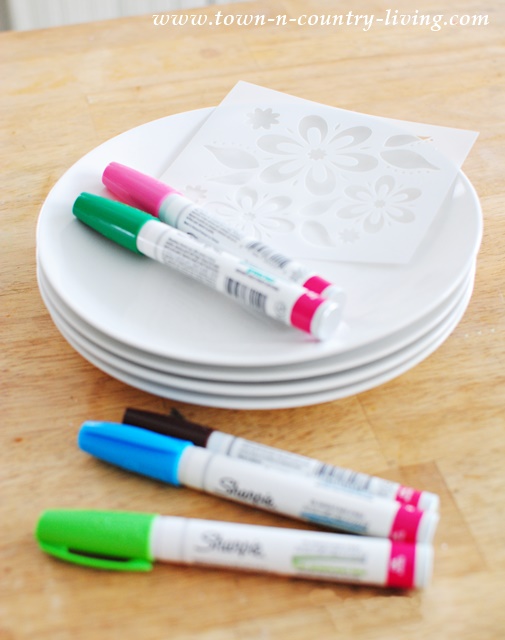
And … it’s imperative you use oil-based Sharpies for this project.
Regular Sharpies, although permanent, tend to chip off with extended use.
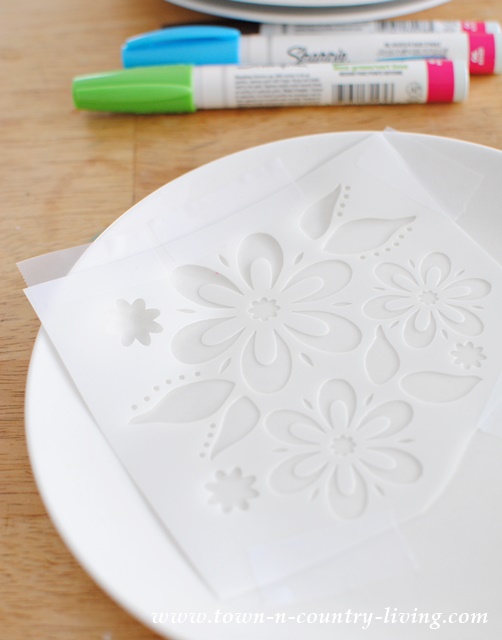
and taped the stencil to the plate.
Then it’s just a matter of coloring in the pattern with the Sharpies.
Be sure to hold the stencil in place while working.
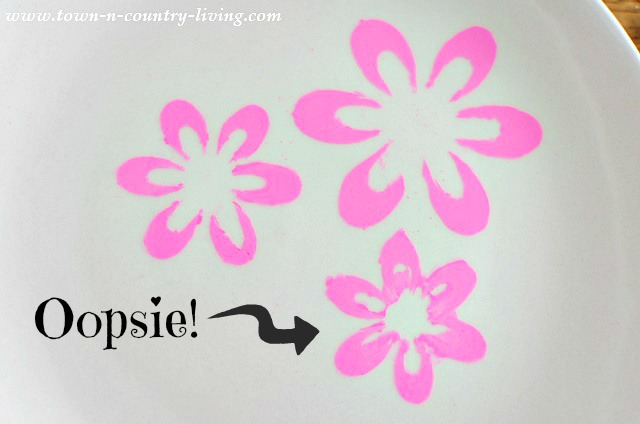
The paint will seep under the stencil template and smear.
Luckily, you can scrape off the excess paint after it dries (and it dries really quickly) with a small paring knife. In tight spots, I used the tip of a toothpick. If you remove too much paint, simply redraw that spot with your oil-based Sharpie.
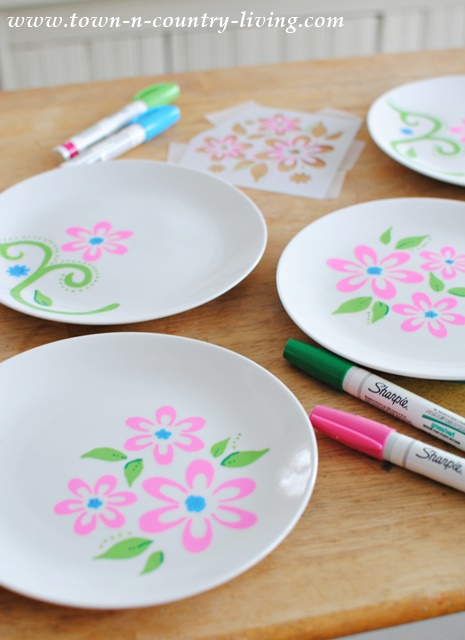
This was really a fun project despite my error with the first plate.
Once your plates are decorated, place them in the oven and then turn it on to 350 degrees.
Keep the plates in the oven for 30 minutes, then take them out and cool completely.

You can wash the plates by hand with soap and water. I didn’t test them in a dishwasher.
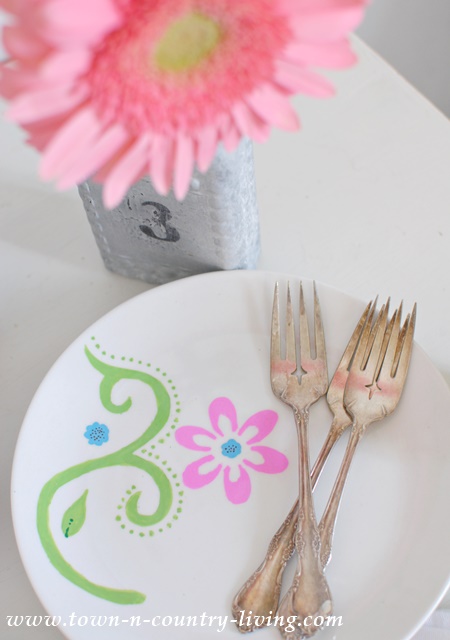
I would not serve hot food on the plates, and to ensure total safety, put a doily or napkin on the plate before serving cookies, creme puffs, or other light desserts.
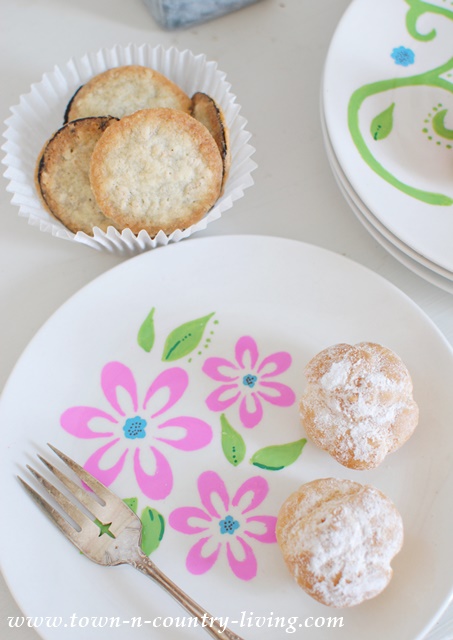
And although the fork is on the dried and sealed paint, I didn’t use it.
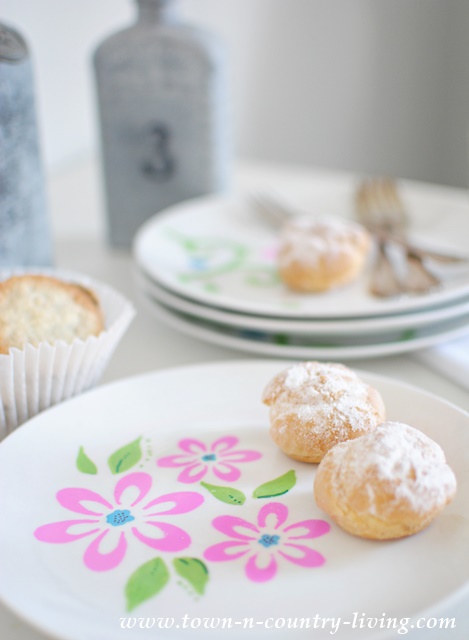
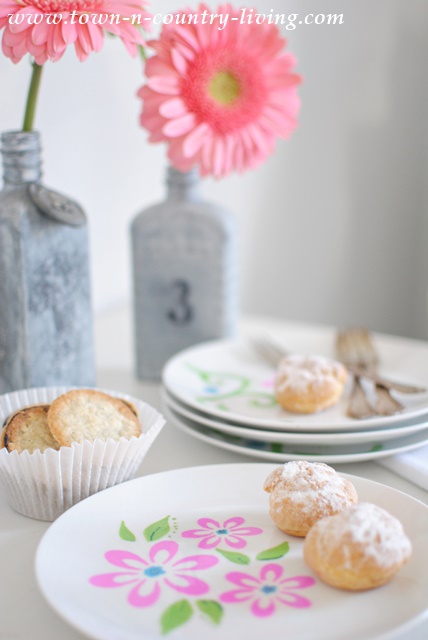
There’s no end to the patterns you can create when decorating dessert plates with Sharpies!
Here’s information from Sharpie’s website regarding the food safety issue:
While Sharpie markers are AP-certified non-toxic, we do not recommend using them on areas of items that may come in contact with food or the mouth (such as the rim of a coffee cup). Sharpie markers are only recommended for use on ceramic or glassware when the product is being used for decorative or display purposes and not intended to come in contact with food or the mouth. If you intend to design a mug or a cup using Sharpie markers and then use the mug or cup, any such designs must be at least one inch below the rim where a person’s lips could touch.


Hi Jennifer
Those are adorable! I love your color choices. very cute! I Don’t think I would use them for food, but I would display them! The possibilities are endless, seasonal display plates!
Xo
Michelle
super cute idea to jazz up some boring plain dishes to use in the decor.
As much as I hand paint everything I had not thought of picking up some inexpensive plates to decorate. I love plates hanging on the walls and this idea gives me another way to display my art. I am sharing on Facebook and Pinning!
Super cute, love this idea 🙂 What a great way to give a white plate a new look. Pinning!
This is a sweet project, : )