DIY Pink Champagne Christmas Ornaments
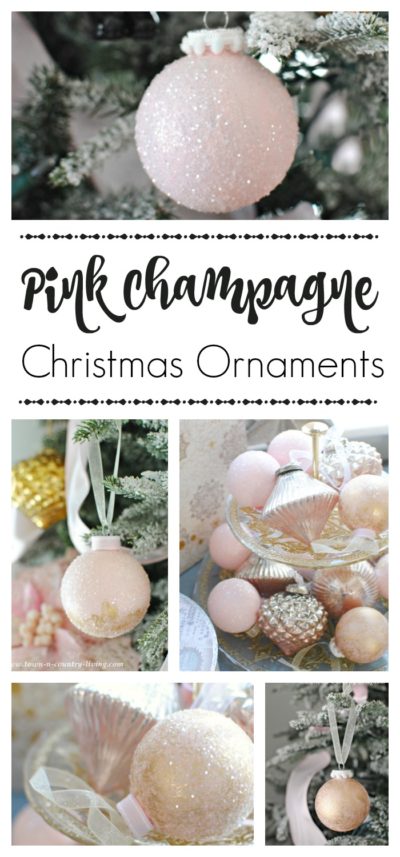
Christmas is seven weeks away and that means it’s time to ramp up crafts and projects for the holiday. I was searching for specific-looking ornaments at the store and couldn’t find what I wanted, so I decided to make my own DIY Pink Champagne Christmas Ornaments. (This post contains affiliate links.)
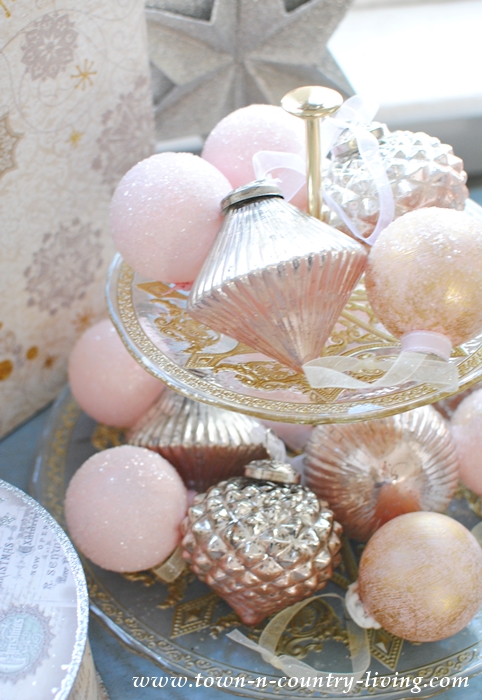
I was looking for glittery, pink champagne Christmas ornaments that would pair well with my existing mercury glass ornaments. Since I couldn’t find any, I decided I could probably make my own fairly easily. So today I’m sharing how to make these romantic, shabby chic beauties.
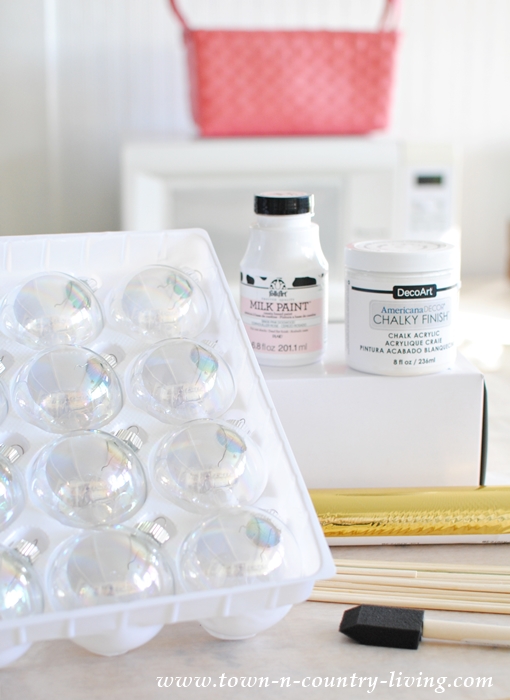
What You’ll Need: Glass Ball Ornaments | Pink Milk Paint or Chalk Paint | Gold Foil Paper
Foil Adhesive | Matte Mod Podge | Glitter | Decorative Ribbon | Hot Glue Gun
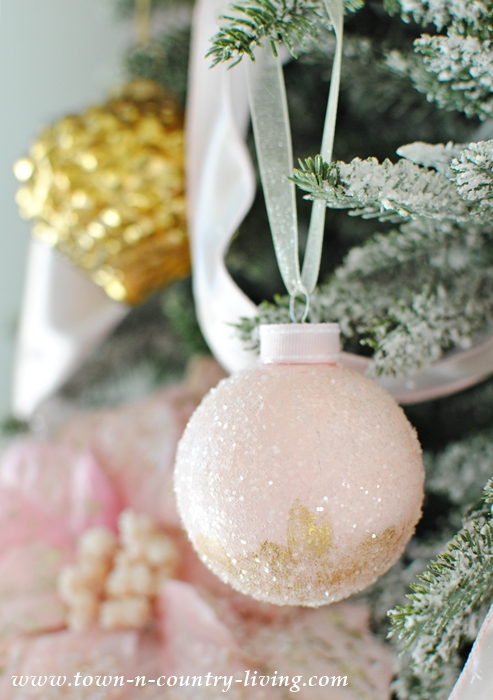
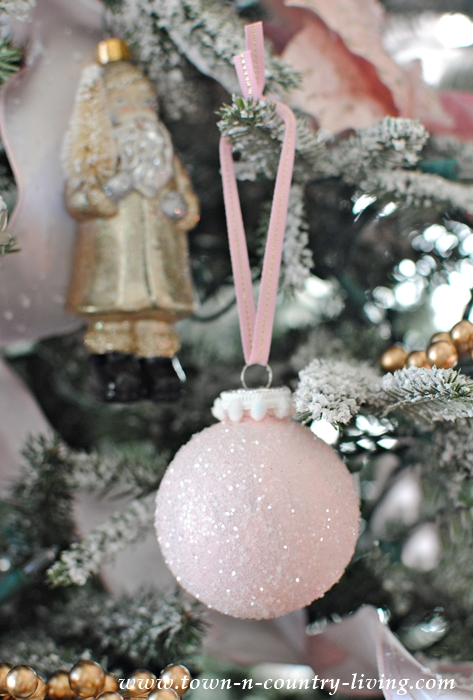
Paint the outside of your clear glass ornaments with pink milk paint or chalk paint. You’re going to need 2 to 3 coats; allow to dry completely between coats. I created a few styles. To make pink glitter ornaments, brush a thin coat of Mod Podge onto the ornament and sprinkle immediately with glitter. Let dry.
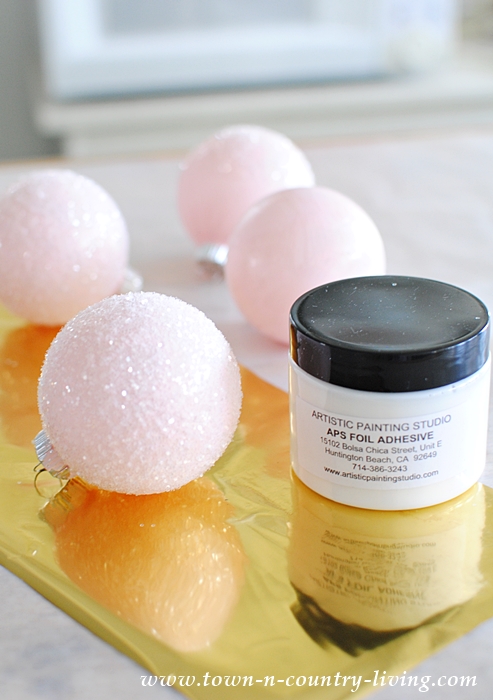
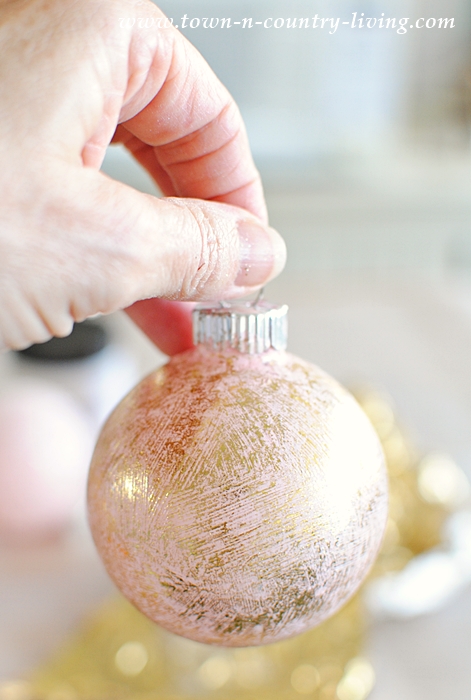
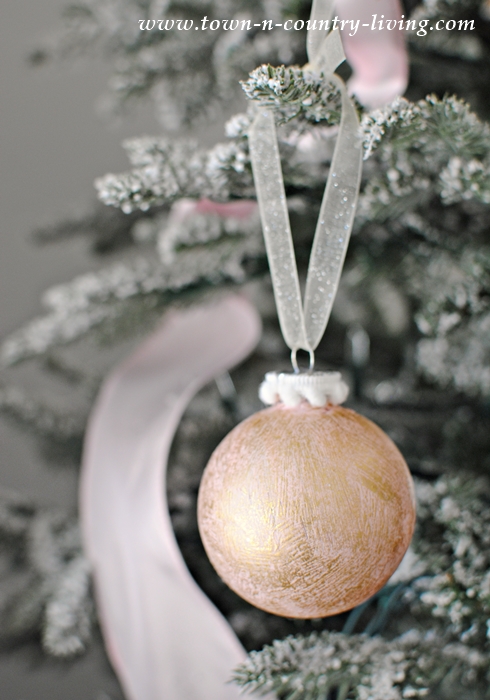
On some of the ornaments, I added a gold metallic treatment using foil paper and foil adhesive. Brush all or part of the painted ornament with the adhesive; let dry at least 2 hours (I let mine dry overnight). The surface of the ornament will be tacky to the touch.
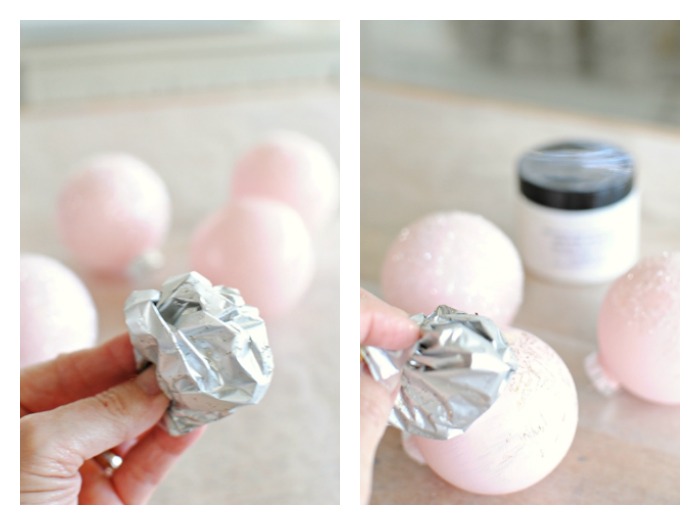
Take a piece of gold foil paper and wad it up with the gold side facing in. I know this seems counter-intuitive, but just trust me on this. Using a pouncing motion, dab the wadded-up foil paper against the tacky ornament. The adhesive pulls the foil off the plastic paper. Keep pouncing the ornament until you have as much gold foil on the ornament as desired.
As the ornament takes on the gold foil, it will feel less tacky to the touch. Protect the finish by thinly brushing on a top coat. You can do this step right after you finish applying the foil. Let dry. You can leave the ornament as is, or cover the gold with a bit of glitter using the Mod Podge adhesion explained above. Note: If you decide to add glitter, you do not need to add the top coat. The Mod Podge will protect the paint and gold finish.
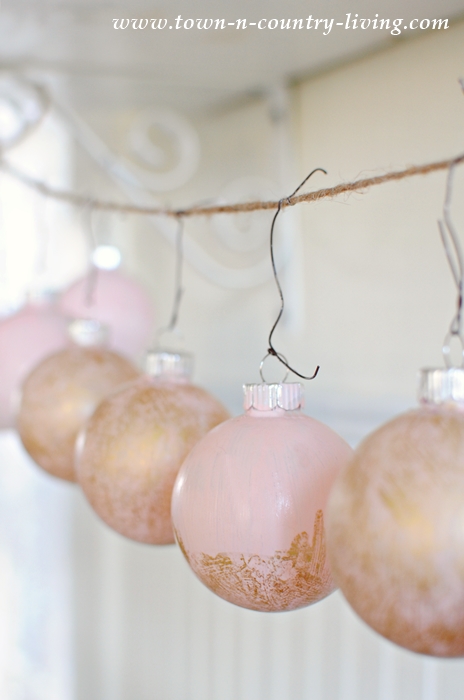
Once you’re done adding the top coat (or glitter if you choose to use it), hang your ornaments up to dry. I tied up a piece of twine in my kitchen to suspend them. I also hung them here to let the coats of pink paint dry. You can see that on some ornaments, I only applied the gold foil to half the ornament … just for something different.
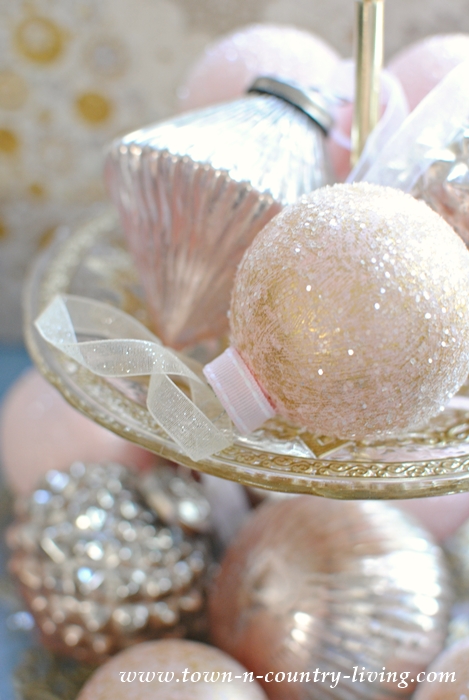
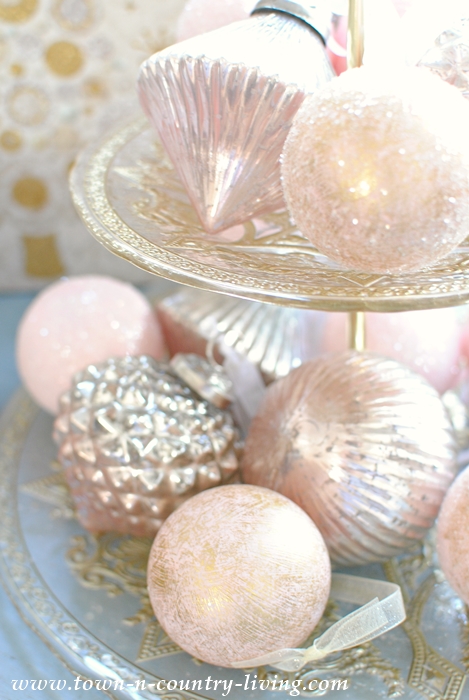
To finish off my pink champagne Christmas ornaments, I hot-glued a short strip of ribbon around the top metal piece. I then used a tulle-type ribbon to create a loop for hanging from the tree. My new DIY ornaments blend beautifully with my mercury glass ornaments.
You can use any type of ribbon to cover the metal top and to tie the ornaments to the tree.
I love my pink champagne Christmas ornaments both on the tree and on display on my tiered server. You’ll be able to see my entire Holiday Home Tour on Wednesday, November 30th. I have more decorating to do and I’m getting excited to share my Christmas home with you.
And on Wednesday this week, I’m sharing a fun Christmas printable that you can download and use for your own holiday decor. So stop back for more DIY Christmas decorating!
You Might Also Enjoy …
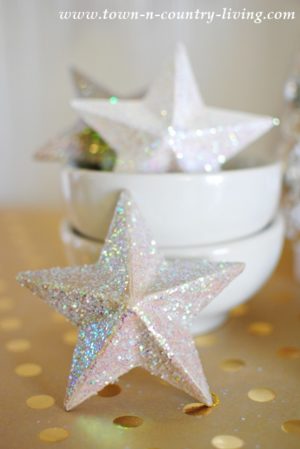
Glitter Paper Mache Star Ornaments
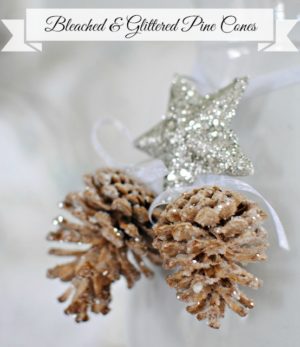
Bleached and Glittered Pine Cone Ornaments


these are so beautiful! I love that pink!!!
So pretty. I’ve pinned this to remind me to come over to invite you to my Thanksgiving Day decorate the tree party.
It begins at noon on Thanksgiving Day!
You can link all your ‘Christmas y’ posts!
Thanks for sharing this.
Jennifer, they are all very pretty! Love shabby chic style. These ornaments would look great on a white, flocked Christmas tree.
Jennifer, these are fantastic. You totally pulled this off, great job
Cindy
These are really lovely i have pinned them so i will know how to do this, i hope. lol!
The ornaments are just beautiful. I pinned them and must give it a try.
I love those ! Definitely going to try these. I love the pink.
I’m hoping to see these at my house next year….just sayin ????
So cute! Love the pink ♥
Jennifer
So much red and plaid this year which I love but love pink, beautiful!
Debby
Debbygoesshabby.blogspot.com
Well you go, girl! I guess you first posted this before I started following you. I was wondering HOW IN THE WORLD and WHERE were you going to use PINK in your home this year???!!!
I am SOOO glad that you posted this because I am going in a totally different direction this year and decorating with creams and sagey green for Christmas. Only problem is that I don’t have many cream ornaments. This post has my mind purring with ways to create them!! As always, thanks, sweet lady. 🙂