Pretty Paper Cone Garland How-To
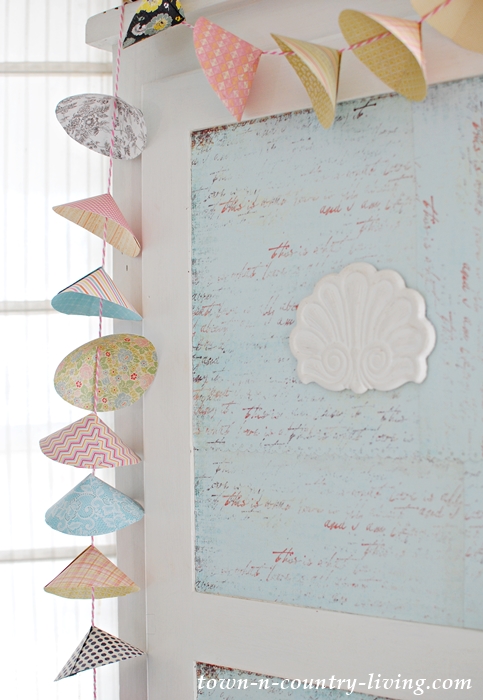
If you’re a regular reader of Town and Country Living, you know how much I love banners and garlands. They’re an inexpensive way to add color and charm to a room, whether you’re hosting a party or just want a pop of color to enjoy every day. Today’s pretty paper cone garland doesn’t take long to make and it’s easy enough for people who think they’re all thumbs.
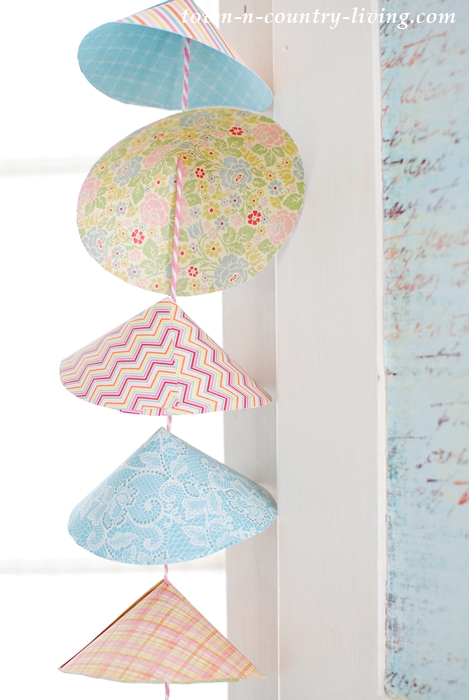
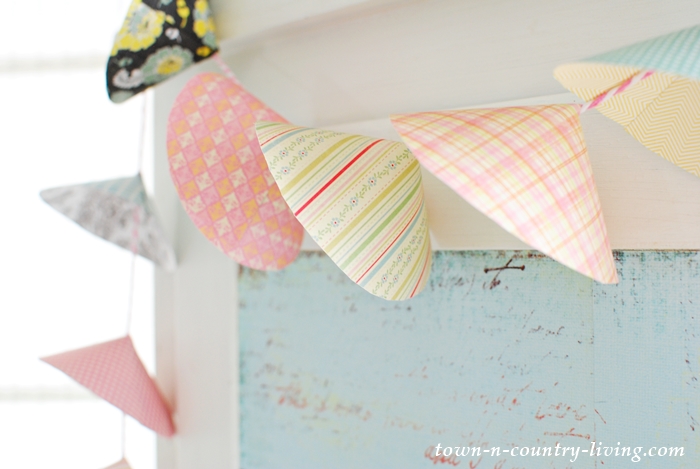
Hubby thinks my paper cone garland looks like little hats.
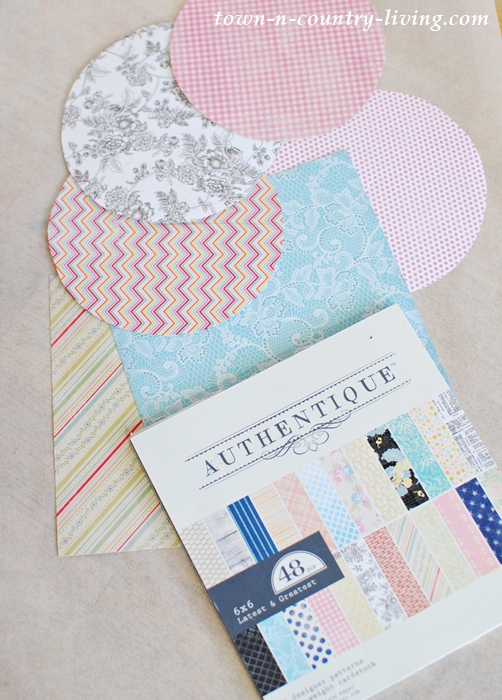
To make this garland you’ll need two-sided decorative scrapbook paper, which you’ll find at your local craft store. Cut circles from the paper, about four to five inches depending on how big you want your cones.
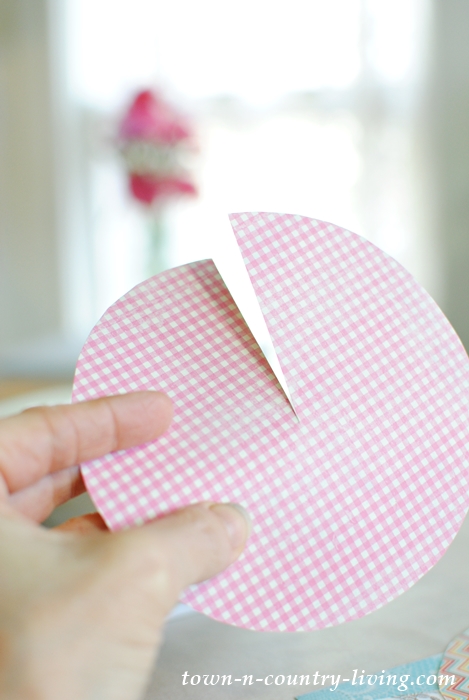
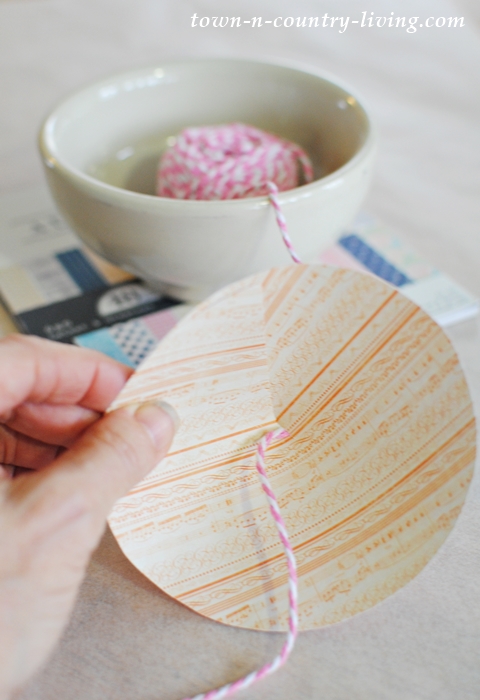
Cut a slit from the center of each circle to its edge.
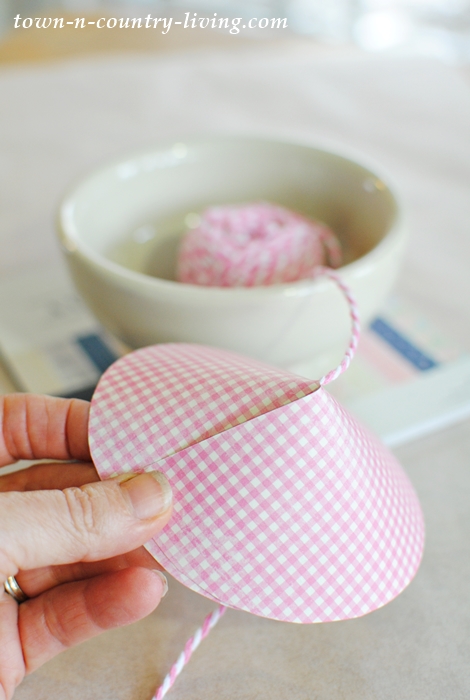
Place a long of baker’s twine (cut to the length of garland you desire, with a few inches added at each end for hanging). at the innermost edge of the slit, and then pull one edge of the cut slit over the other until you’ve created a shallow cone shape. Glue the inside of the overlapped edges to secure the cone – I used hot glue since you don’t have to wait for it to dry.
Here’s the inside view of the paper cone. You’ll be able to slide the cones along the baker’s twine so no need to space them perfectly while you’re making the paper cone garland.
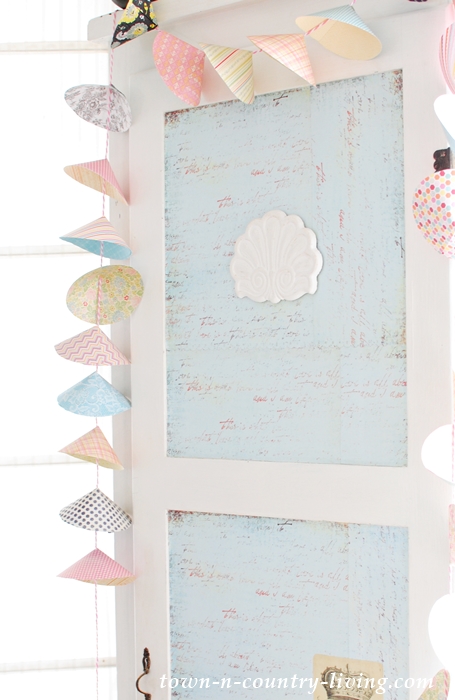
Once you’re done, hang your paper cone garland wherever you like. It would also look pretty to hang several of them from a light fixture over a table. It’ll become part of your party centerpiece.
I love that there are different patterns and colors on each side of the cones. It adds an extra dimension.
This is the type of mindless paper craft that you can do in front of the TV watching your favorite show. It doesn’t take a lot of concentration so the project moves quickly. I think the paper cone garland would look cute hanging as a mobile over a child’s bed.
Do you like making crafts? Which are your favorite types of projects?


How cute what a lovely welcome to Spring. Plus a great tutorial! I hope you’ll come over to the new Fabulous Party. We are celebrating Spring and Easter. Your post is perfect to share! The party starts over here on Sunday:
http://ourholidayjourney.blogspot.com/
Enjoy your week!
Super cute and easy too, I love that!!
Tania
What a darling project! I LOVE paper arts! Thanks for sharing this! karen….