DIY Recycled Cardboard Coasters
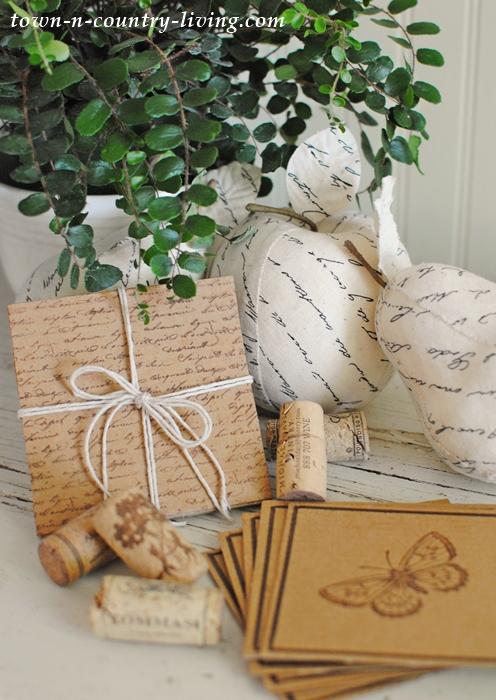
Last week we were idly shopping on my favorite street in Geneva, Illinois, and I came across a set of adorable coasters – made of cardboard! I knew I had supplies at home to make my own DIY recycled cardboard coasters. Why spend money if you don’t have to? (This post contains affiliate links.)
Cardboard coasters are quick and easy to create. Keep them for yourself or give them as a small gift. These might be cute for party favors.
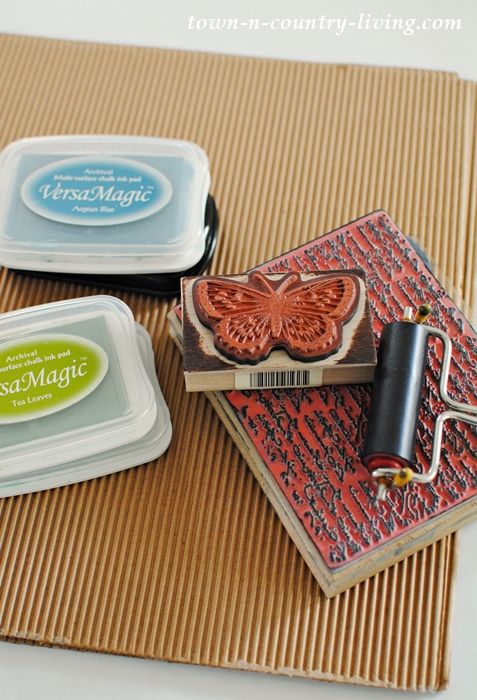
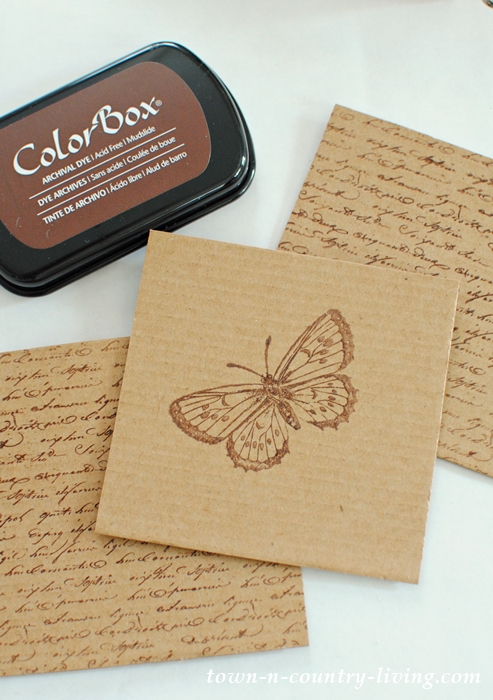
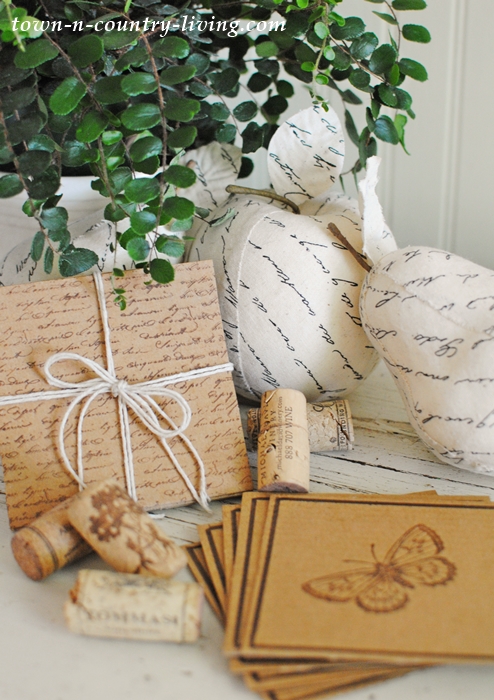
I used cardboard sheets, stamp blocks, and stamping ink to make my coasters. I use the rubber roller to roll ink onto the larger script stamp.
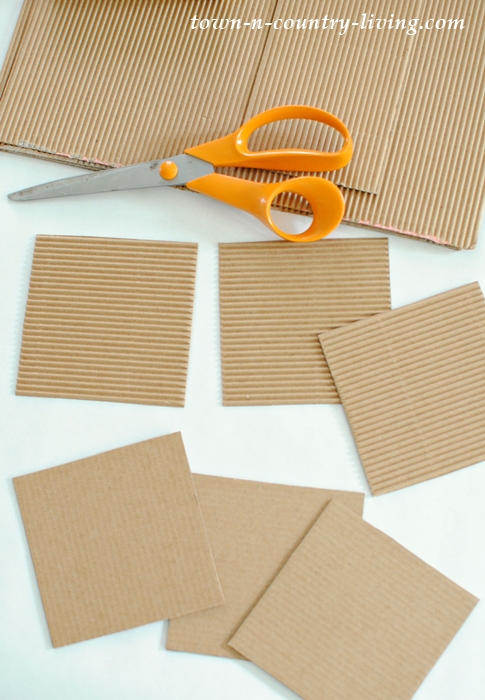
Cut the cardboard into equal-sized squares or circles. Mine are four inches wide and high.
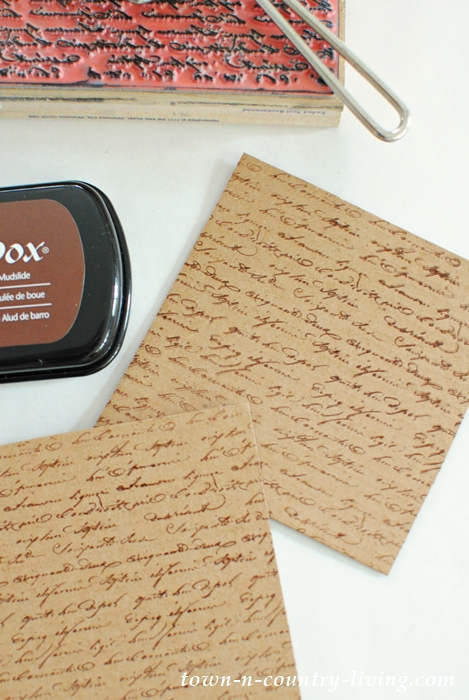
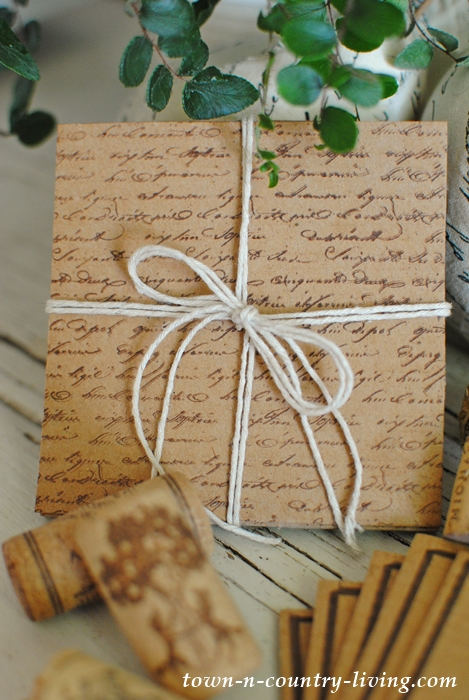
I love my script rubber stamp and created a set of cardboard coasters using the brown ink. I first tried the green ink but it didn’t show up very well on the cardboard.
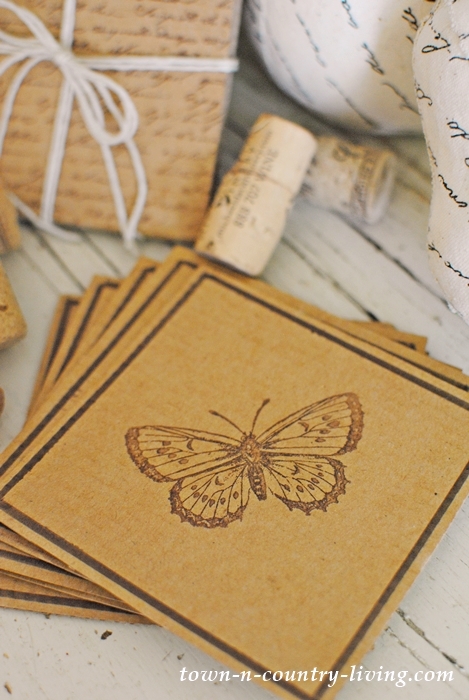
For the second set of coasters, I used my butterfly stamp. I applied the stamp at an angle to give it more visual interest.
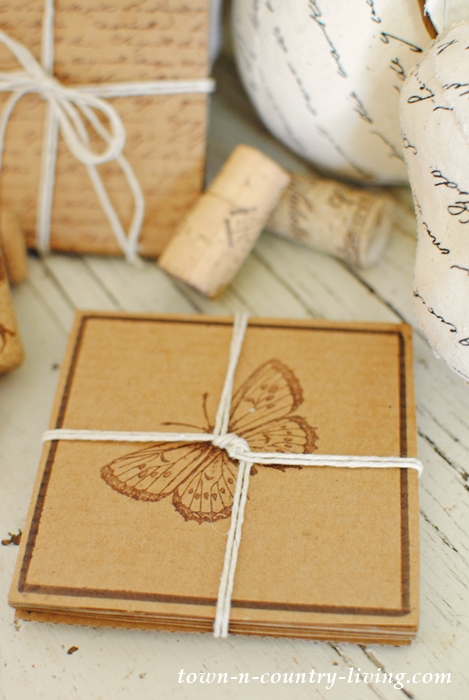
I thought the butterfly cardboard coasters looked a little plain so I added a brown border around the edge. Simply use a ruler to create a straight line using a brown Sharpie.
If you plan to give your coasters as a gift, you can tie a few strands of twine or stretch of ribbon around them.
Since the coasters are made of cardboard, you’ll probably only be able to use them once. You could probably coat them with a thin layer of Mod Podge if you want to use them numerous times. I would use the Matte Mod Podge so they don’t end up looking shine-y.
The store was charging $7.50 for each set of cardboard coasters. I like when I can create something from items I already have on hand. If you’ve got any cardboard lying around, you can put it to good use.
Be creative and decorate your coasters with stencils, scrap pieces of paper, and more.
You Might Also Enjoy …


What a great idea. Cute, practical AND free. Doesn’t get much better than that. Thanks for passing it along.????????
This is soooo beautiful! Thanks for sharing!
Very Nice! I was thinking, just put a coat of mode podge on them, and then I kept reading. LOl. It’s always nice to use what you have on hand.
Thanks for sharing the knife holder how cute
These are so cute. They would make a nice gift but you would have to make a set for yourself also.
They’re so adorable! It’s a great idea for gifts, indeed, so simple but very useful!
Very creative and a lovely gift. The script stamp adds so much class. I think YOU need a set, too. 🙂
These are beautiful! Thank you for the tutorial! Pinned. -Marci @ Stone Cottage Adventures