Easy Paper Bag Vases
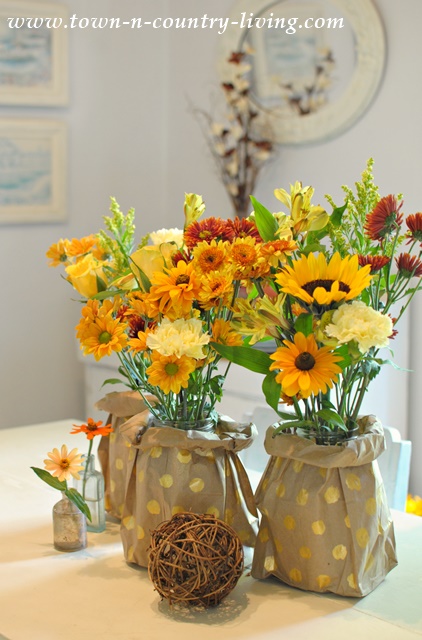
Welcome to the first edition of Celebrations at Home! The second Sunday of each month I’m joining fellow bloggers to bring you a special celebration of home decor, crafts, or food. Today’s offering is something quick and simple that anyone can do. I think most of us are busy this time of year … getting kids back to school, canning our tomatoes and other late summer veggies from the garden, doing fall home maintenance chores, and more. I decided to make fun little paper bag vases for fall floral arrangements!
This project is so easy, you can have your children help you make this pretty centerpiece. And if you have kids, you’ve probably got lunch-sized paper bags on hand.
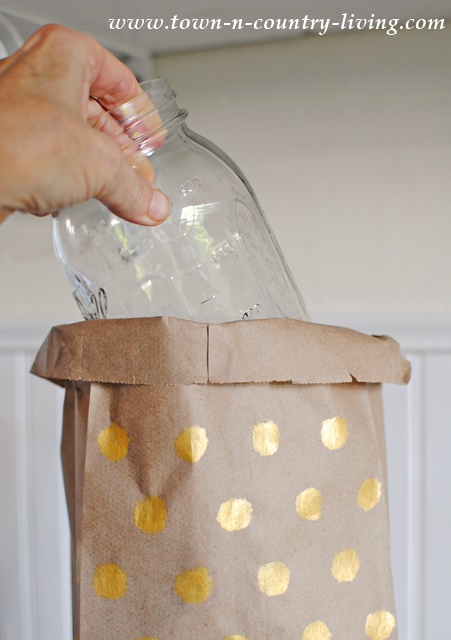
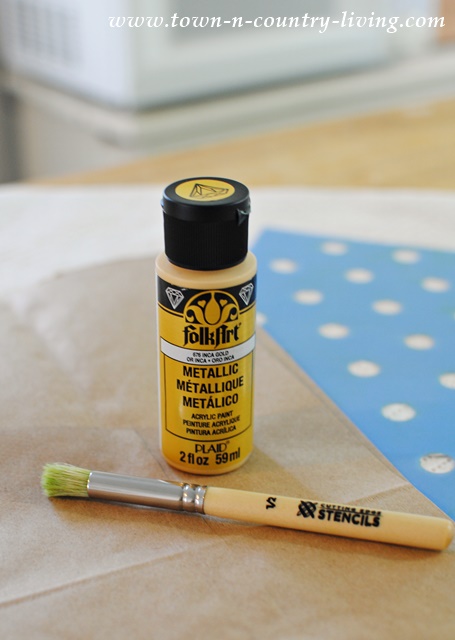
Gather together a few paper bags, metallic gold paint and a brush, and a polka dot stencil.
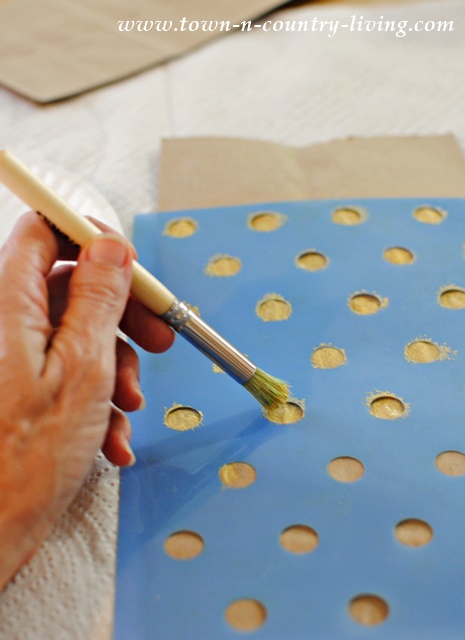
You don’t have to use a stencil to make your paper bag vases. You can paint free hand and even make your polka dots a variety of sizes too. But I had this stencil on hand and decided to use it. Simply dab the stencil brush into the gold metallic paint and fill in the holes. Let the paint dry before flipping the bag over to paint the other side.
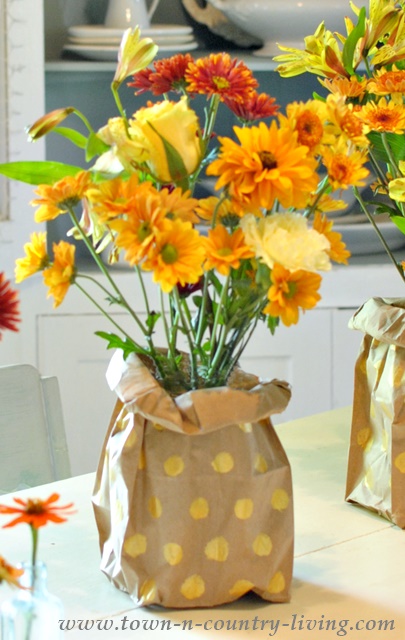
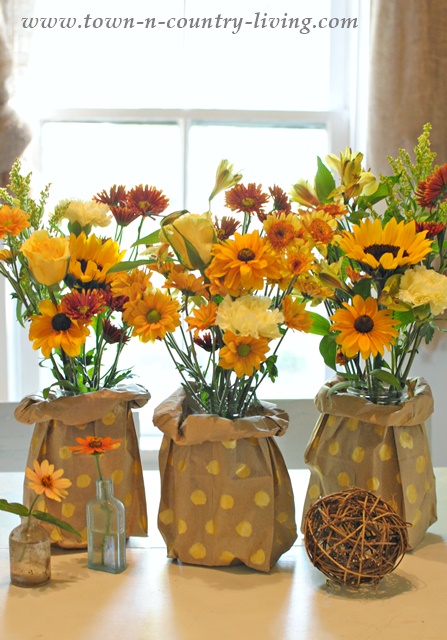
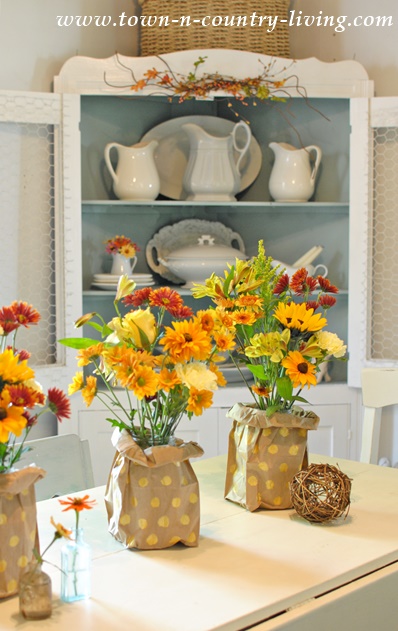
I like gold for Fall! Be sure to visit the rest of the ladies at the links below to see more inspiration as we transition into the beautiful Fall season!

Love this idea! It’s so pretty and I can see using different colors on the bags for every occasion!
Debbie
Jennifer those are so darling! Great idea!
What a cute idea! There’s lot of colours and stencils you could use with this. Would be a cute Christmas idea as well. I’ve pinned it to my craft board. Now on to check out the rest! Have a great week! Diane
I adore this idea! So darling!
I love these!!! I made DIY Vintage Grow bags a few months ago, but I never would have thought to use them as vases too & use paper instead of burlap!!! These are AWESOME & Polka Dots…PERFECT!!
Paige.Rose
from
http://www.TheQuaintSanctuary.blogspot.com
Really cute, especially grouped together. Quick and easy with really beautiful results.
How adorable, Jennifer! My grandgirls will love making some of these and it’s a fun project that we can do together.
What a clever idea, Jennifer. I love these and all the possibilities using this idea.
I love how blissfully simple these are – both to look at, and to make – especially filled with pretty autumn flowers!
I love this idea…so fun and easy! Great way to change your vases for the seasons, too!…hugs…Debbie
Wow! What a lovely project. I love this idea 🙂
Fantastic idea! It looks lovely.